
Why Mulching Matters More Than Most Gardeners Realize
A well-mulched garden bed does quiet, continuous work: it slows water evaporation, moderates soil temperature, suppresses weed germination, and - if you choose an organic material - steadily enriches the soil beneath it as it breaks down. For gardeners trying to build a low-maintenance outdoor space, mulch is one of the highest-return tasks on the calendar.
The challenge is that mulching is easy to do poorly. Too thin and you lose the weed barrier. Too thick or too close to stems and you invite fungal disease, pest habitat, and oxygen-starved roots. This guide walks you through choosing the right material, applying it correctly, and sidestepping the errors that create more headaches than they solve.
If you're building beds from the ground up, our guide to starting a garden from scratch covers the soil and spacing fundamentals that make mulching even more effective.
Calculate Mulch Quantity Before You Shop
To find how much mulch you need, multiply the bed's square footage by your target depth in inches, then divide by 12 to get cubic feet. Most bagged mulch lists coverage on the label, making it easy to estimate bags needed. Buying slightly more than your calculation accounts for settling and uneven areas.
Choosing the Right Mulch Material
Mulch falls into two broad categories: organic (wood chips, shredded bark, straw, compost, pine needles) and inorganic (gravel, landscape fabric, rubber chips). Each has trade-offs worth understanding before you buy.
- Shredded bark and wood chips are the most widely used organic option. They break down slowly, look tidy, and suit most perennial and shrub beds well.
- Straw is an affordable choice for vegetable gardens - it's light, easy to move at season's end, and decomposes readily. Avoid hay, which carries weed seeds.
- Compost used as mulch feeds soil biology as it breaks down, though it needs topping up more frequently. Pair it with shredded bark for longevity.
- Pine needles (pine straw) work well around acid-loving plants like blueberries and azaleas and knit together to resist washing away on slopes.
- Gravel or stone suits drought-tolerant ornamental plantings but does not improve soil and can radiate heat in summer - think carefully about placement.
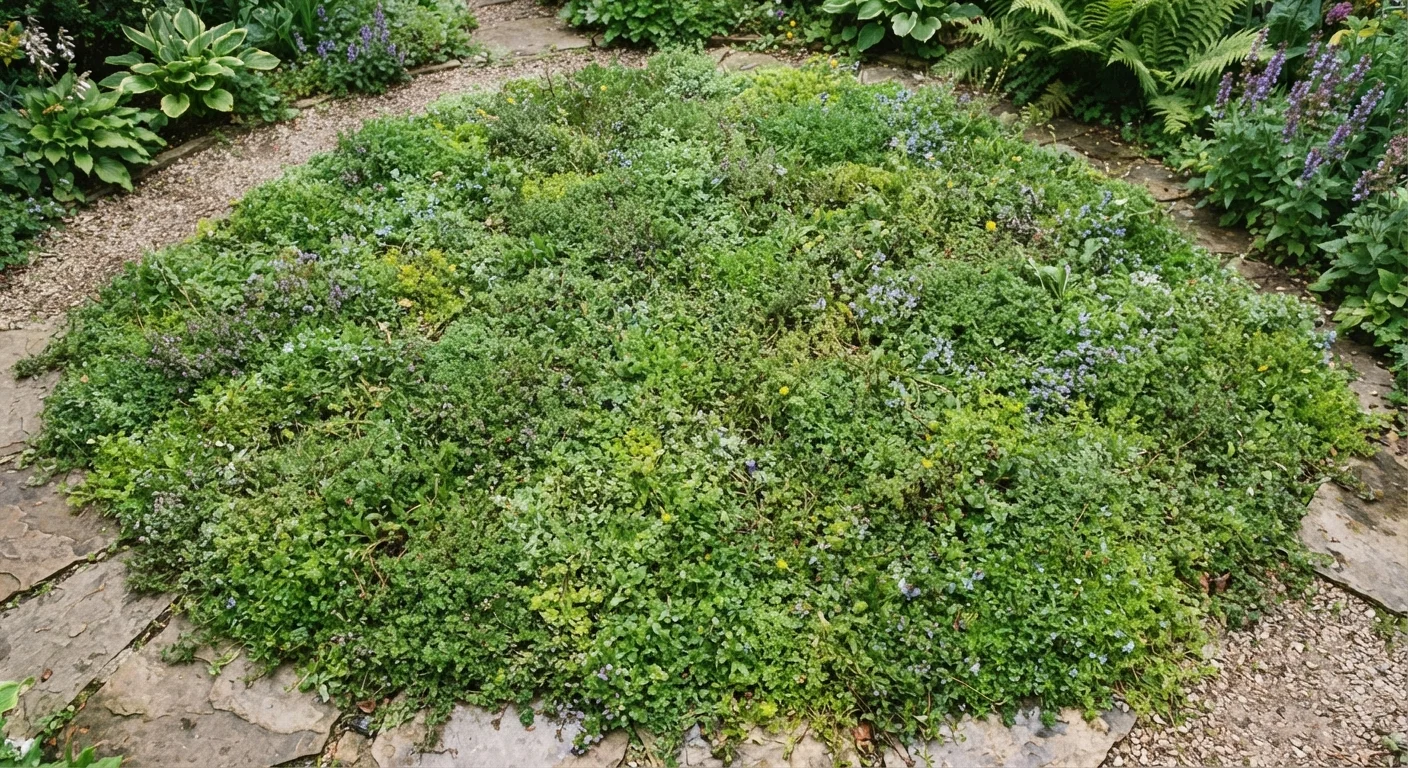
For most home gardeners tending mixed beds, shredded bark or wood chips strike the best balance of availability, durability, and soil benefit. If you're also working to reduce chemical inputs, pairing mulch with ground cover plants can provide a layered weed-suppression system.
What you will need
How to Apply Mulch: Step-by-Step
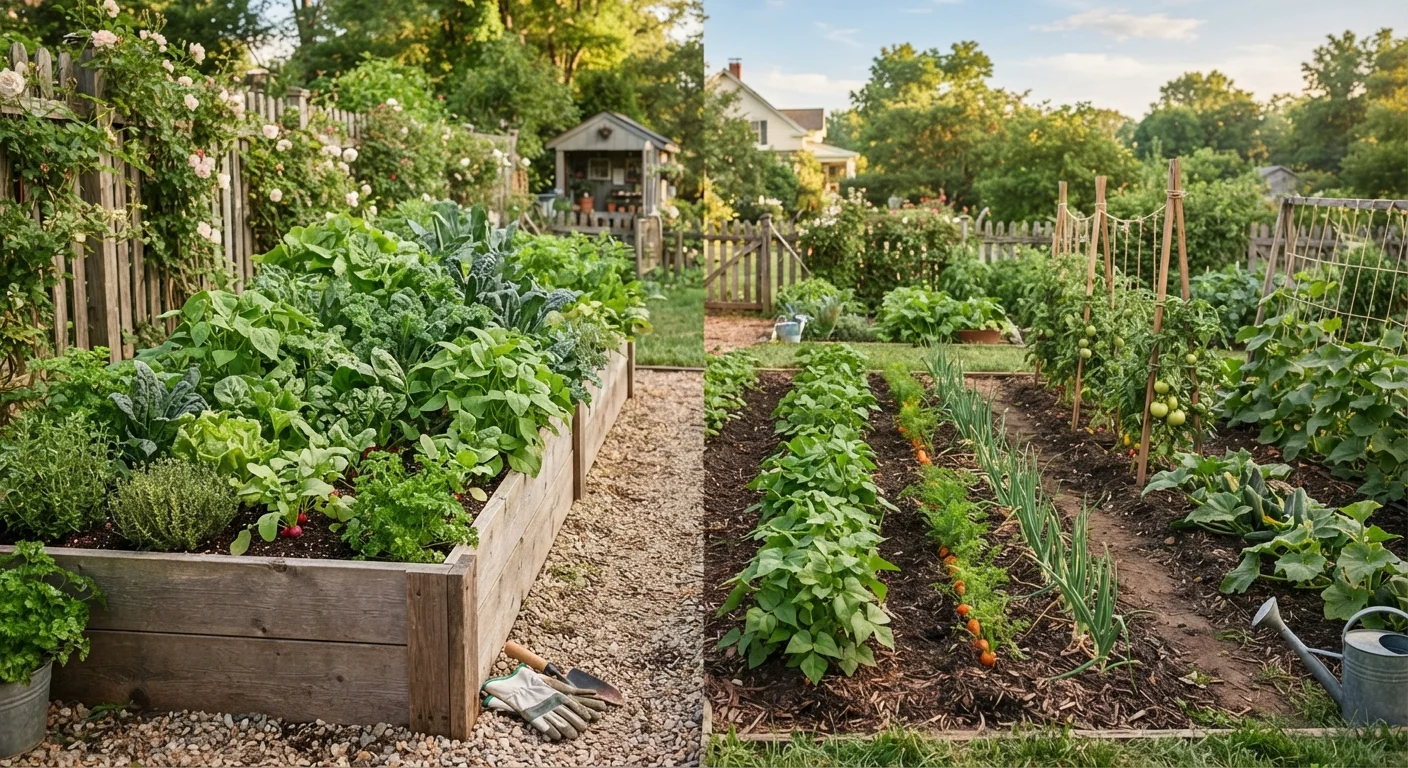
Consistent technique is what separates a mulch job that lasts a full season from one that needs fixing within a few weeks. Follow the steps below for any garden bed type, whether you're growing in traditional in-ground beds or raised beds.
Clear the bed of weeds and debris
Pull or hoe any visible weeds - roots and all - before laying mulch. Mulch suppresses new weed germination but will not kill established weeds already in the soil. Remove fallen leaves, old mulch clumps, and any diseased plant material from the bed surface.
Water the soil thoroughly
Irrigate the bed deeply before you mulch. Mulch is an excellent moisture retainer, which means it will lock in dry soil just as effectively as moist soil. Aim for soil that feels damp 2-3 inches below the surface.
Apply mulch at the correct depth
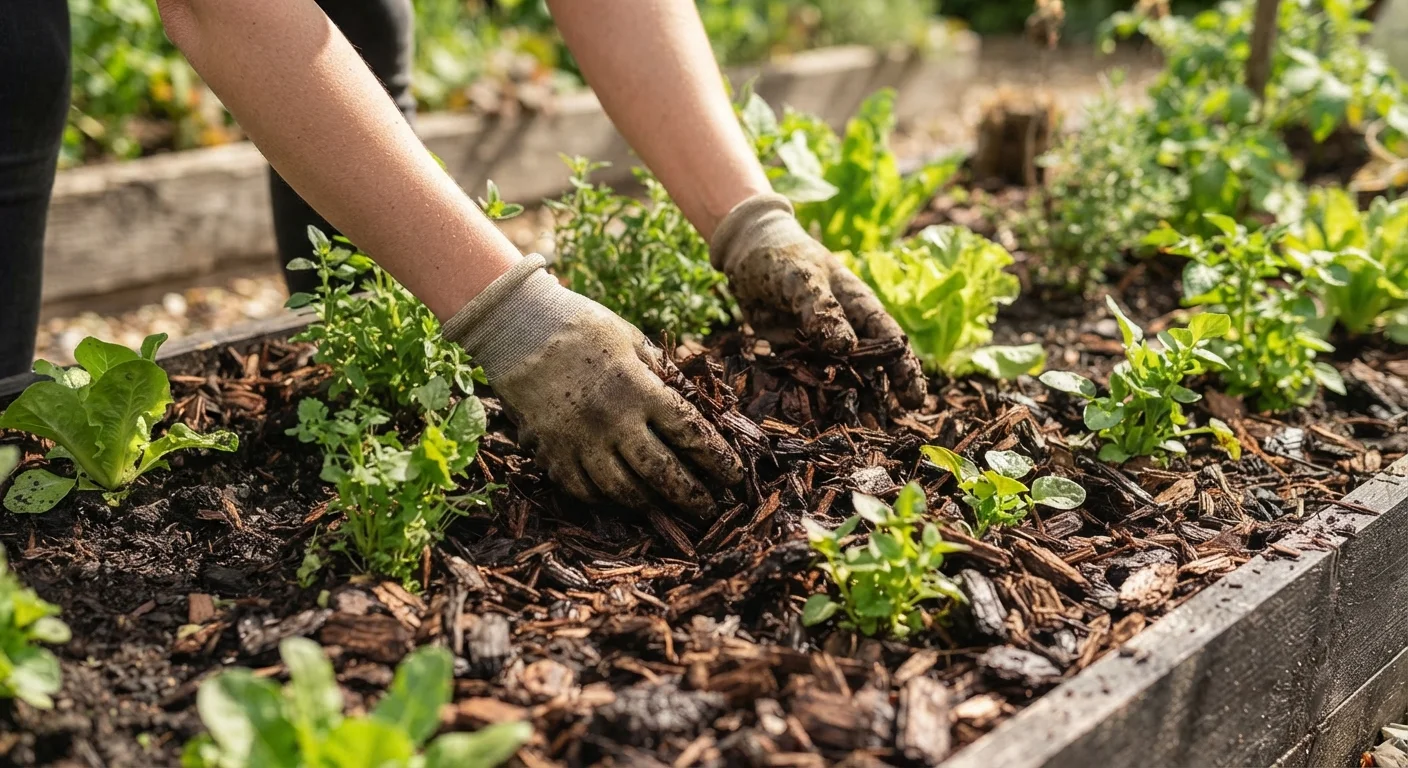
Spread mulch evenly to a depth of 2-4 inches across the bed. Use the lower end of that range for fine-textured materials like compost, and up to 4 inches for coarser wood chips. Too thin (under 2 inches) and weed seeds will germinate through it; too thick (over 4 inches) and you risk smothering roots and blocking air and water infiltration.
Keep mulch away from plant stems and trunks
Pull mulch back so it sits at least 2-3 inches away from herbaceous plant stems and at least 6 inches from tree trunks. Direct contact with bark traps moisture, promotes fungal growth, and can attract rodents that feed on plant material through winter.
Extend mulch to the drip line where possible
For trees and large shrubs, extend the mulched area outward to the drip line (the outer edge of the canopy) rather than stopping at the trunk. This protects the widest zone of feeder roots, reduces lawn mower damage, and creates the largest area of moisture retention.
Check and replenish each season
Inspect mulch depth each spring and fall. Rake the surface to break up any crust or compacted layer, then top up with fresh material to restore the 2-4 inch target. With organic mulches, the decomposed layer below is already benefiting your soil - you're only replacing what has been absorbed.
Common Mulching Mistakes to Avoid
Even experienced gardeners repeat a few persistent errors. The most damaging is volcano mulching - piling mulch in a cone against tree trunks or shrub stems. This traps moisture against bark, encourages rot and fungal disease, and creates shelter for rodents that girdle woody plants. Always pull mulch back to leave a clear gap around stems.
A second common problem is applying mulch over dry soil. Mulch locks in whatever moisture is present; if the soil is already dry, you're sealing the problem in. Water beds thoroughly before mulching, especially in late spring. For help building smarter watering routines around your mulched beds, see our article on watering habits that quietly kill garden plants.
Finally, don't skip the annual inspection. Mulch compacts over time, forming a crust that sheds water rather than absorbing it. Each spring, rake the surface layer to break it up before adding fresh material on top - you generally only need to replenish to restore the target depth rather than starting over entirely.
Avoid Dyed or Unknown-Source Wood Mulch
Some dyed wood mulches are made from recycled lumber that may contain treated wood or contaminants. For vegetable gardens especially, choose mulch with a known, natural source - untreated wood chips, certified compost, or straw. When in doubt, check the product label or ask your supplier about the source material.
Seasonal Timing and Long-Term Maintenance
Mulching isn't a once-and-done task, but it's a manageable one. Two main windows make sense for most US climates:
- Spring: After the last frost, once soil has begun to warm. Mulching too early can delay soil warming and slow plant establishment.
- Fall: After perennials die back and temperatures drop consistently. A fresh layer insulates roots through freeze-thaw cycles.
Each season, plan to top up beds where the layer has thinned below 2 inches. Organic mulches - especially compost-rich blends - break down into the soil, which is a feature, not a flaw: it's free soil amendment. Replenish annually rather than letting beds go bare.
When the growing season wraps up entirely, mulching is a key part of bed closure. Our end-of-season wind-down checklist covers this alongside the other tasks that set your garden up for a strong spring return. If you're also building your own amendment supply, home composting is an excellent complement - finished compost applied as mulch closes the nutrient loop efficiently.