
Why Fluid Checks Matter - and When to Do Them
Your vehicle relies on five key fluids to protect its engine, ensure braking, enable steering, and keep your windshield clear. These fluids degrade, evaporate, and absorb contaminants over time. Catching a low or dirty fluid early is the difference between a two-minute top-up and a repair bill in the hundreds - or thousands - of dollars.
Most fluid checks take under 20 minutes and require no tools beyond a clean rag and your owner's manual. That makes them among the most cost-effective maintenance habits any driver can build. For a broader picture of which upkeep tasks fit well into a DIY routine, see our guide on car maintenance tasks worth doing yourself.
As a general rule, check all five fluids once a month and before any long trip. Our pre-drive safety check includes fluids as part of a full departure routine.
What you will need
Owner's Manual
Identifies the exact location of each fluid reservoir and the correct fluid specification for your vehicle.
Clean Lint-Free Rag
Used to wipe the oil dipstick clean before taking an accurate reading.
Flashlight
Illuminates hard-to-see reservoirs and helps read fluid color accurately in dim engine bays.
Nitrile Gloves
Protects hands from engine oil, brake fluid, and coolant during checks.
How to Check Each Fluid: Step-by-Step
Follow the steps below in order. Always work with the engine off and the vehicle on a level surface. Keep your owner's manual nearby - reservoir locations and fluid types vary by make and model.
Park on a level surface and open the hood
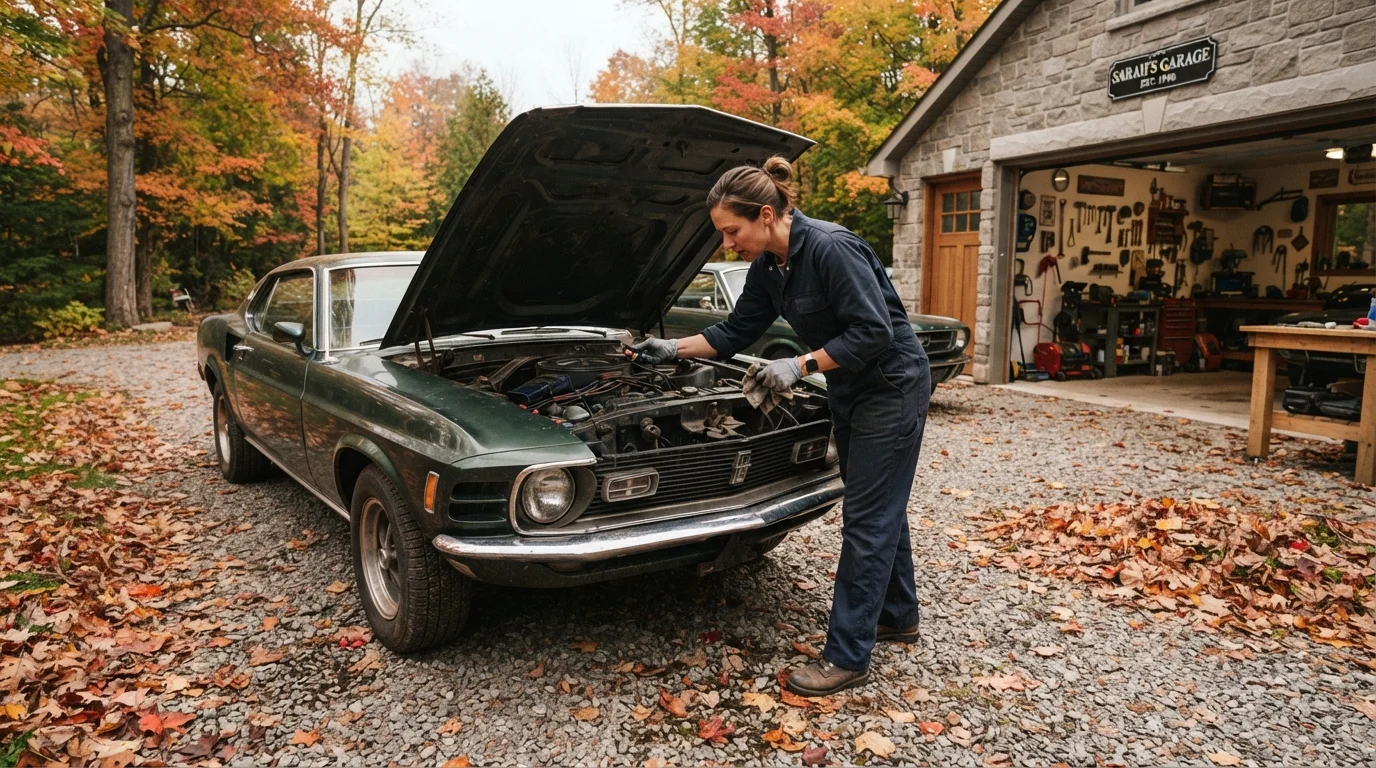
Pull onto a flat, level surface - a driveway or parking lot works well. Engage the parking brake. Turn off the engine and allow it to sit for at least 30 minutes before starting your checks. Pop the hood using the interior release lever, then lift and secure the hood with its prop rod.
Check the engine oil
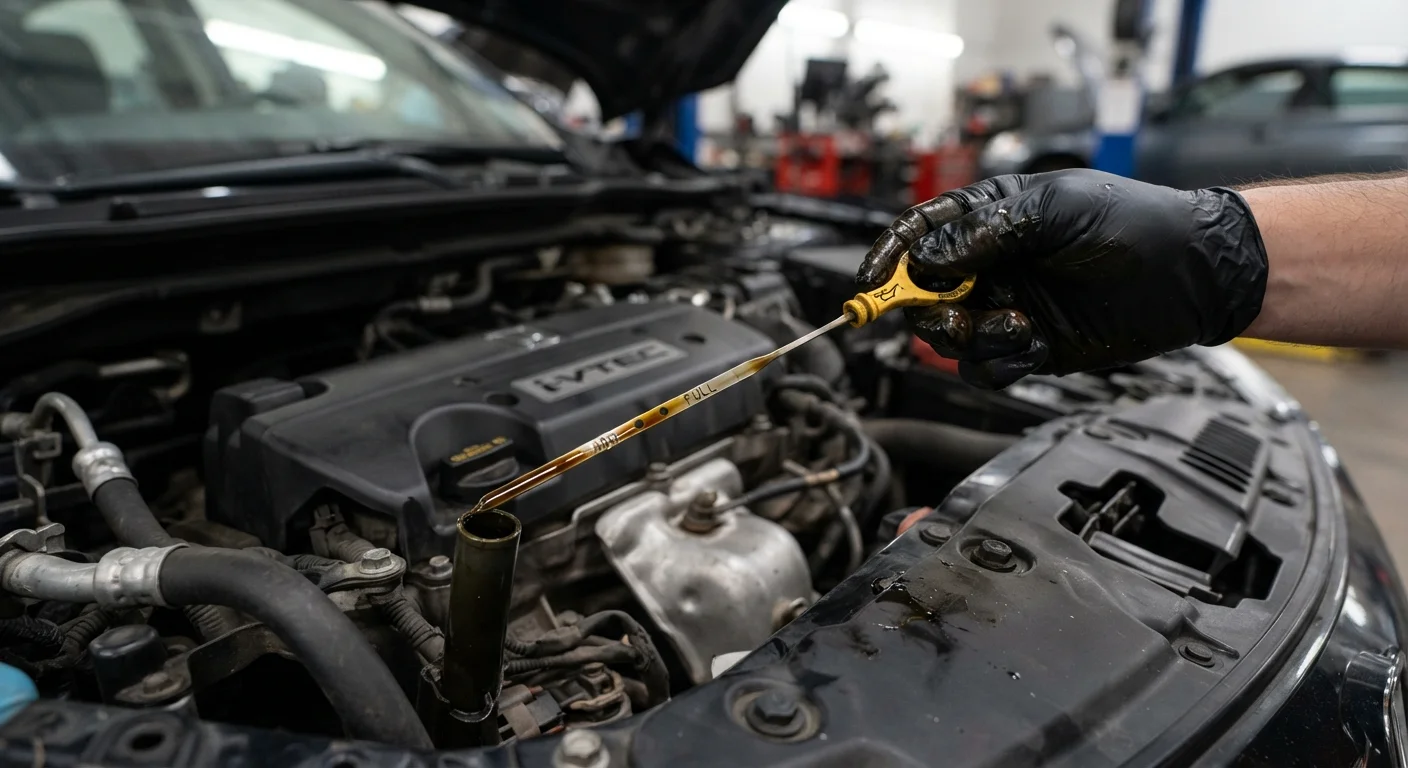
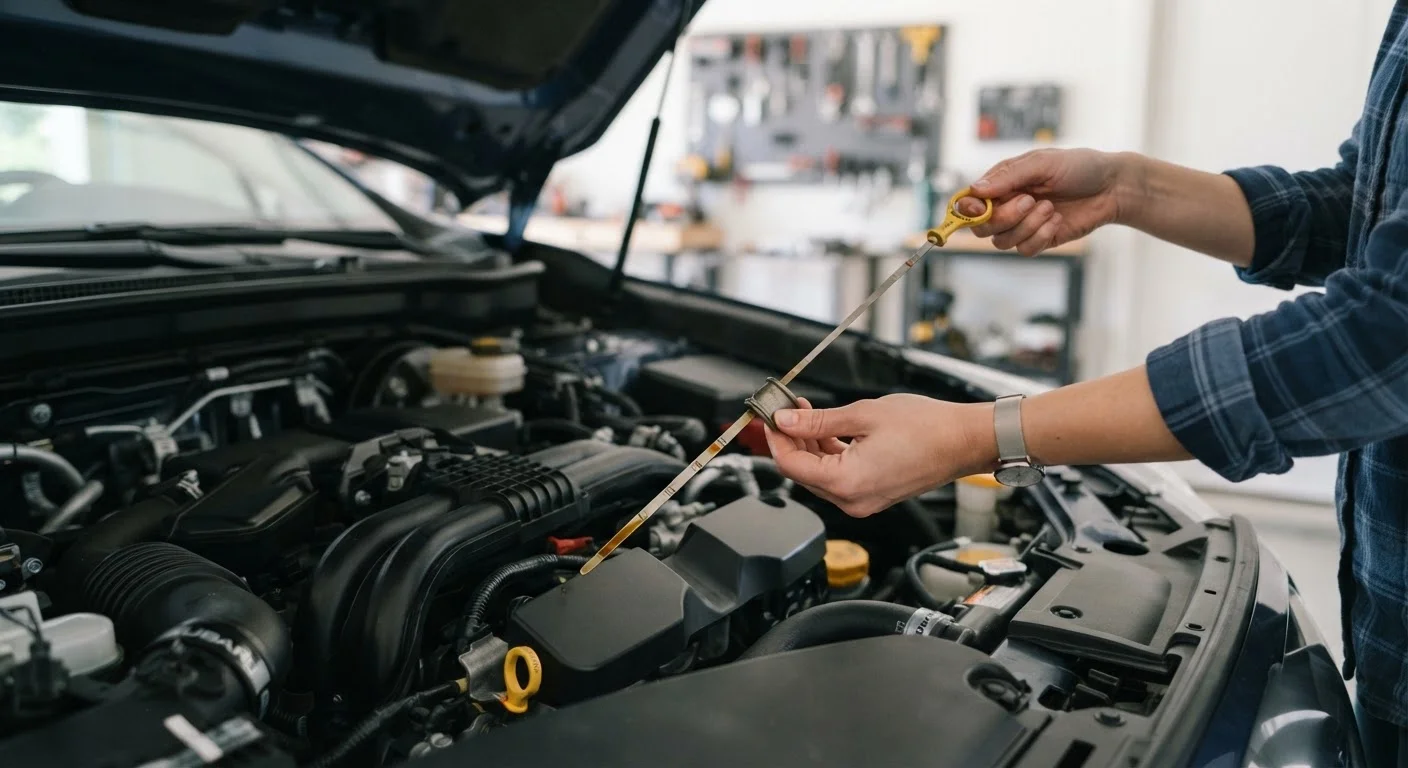
Locate the oil dipstick - usually a brightly colored ring or handle near the center of the engine. Pull it out fully, wipe it clean with your rag, reinsert it all the way, then pull it out again. The oil level should fall between the two marks (MIN and MAX, or crosshatching) near the tip. Note the color: healthy oil ranges from amber to light brown. Very dark, gritty, or milky oil warrants attention from a mechanic.
For context on how often to check and change your oil, the oil change myths article separates fact from fiction on common misconceptions.
Inspect the coolant (antifreeze) reservoir
The coolant reservoir is a translucent plastic tank, typically near the radiator, with MIN and MAX markings on its side. With the engine fully cool, visually check the level against those markings without opening the cap. The fluid should appear greenish, orange, or pink depending on type - your manual will specify which is correct for your vehicle. Cloudy or oily coolant can signal a problem.
Check the brake fluid
The brake fluid reservoir is a small, semi-transparent plastic container mounted on top of the brake master cylinder, usually at the back of the engine bay on the driver's side. Check the level visually against the MIN/MAX lines. Brake fluid should appear clear to light yellow. Dark brown fluid or a consistently dropping level should be assessed by a qualified mechanic - do not ignore either sign.
Check power steering fluid (if applicable)
Many newer vehicles use electric power steering and have no fluid reservoir to check - confirm in your owner's manual. If your vehicle has hydraulic power steering, locate the reservoir (often labeled with a steering wheel icon) and check the level against the MIN and MAX marks, or use the attached dipstick. The fluid should be clear to light amber; dark or foamy fluid needs professional attention.
Top up windshield washer fluid
The washer fluid reservoir is typically a blue-capped tank and is the one fluid you can safely check and refill anytime, even with a warm engine. Remove the cap and visually check the level. Top up with a pre-mixed washer fluid rated for your climate. In winter, use a formula rated for freezing temperatures to prevent the lines from icing.
Brake Fluid: Check, Don't Guess
Brake fluid absorbs moisture over time, which lowers its boiling point and can compromise braking performance. If the fluid is dark brown or the reservoir level is noticeably low, have a qualified mechanic inspect the brake system before driving. Do not attempt to bleed or flush brake lines yourself without proper training and equipment.
Reading the Results and Knowing When to Act
After completing your checks, you'll have a clear snapshot of your vehicle's fluid health. Normal levels and clean appearance mean you're in good shape. A fluid that's slightly low but looks clean typically just needs a top-up with the correct type specified in your manual - never mix fluid brands or types without confirming compatibility.
Fluids that are consistently low between checks, visibly contaminated, or accompanied by unusual smells or dashboard warning lights are signals to schedule a professional inspection. Ignoring these signs risks component damage that costs far more to fix than a simple service visit.
Never Open the Coolant Reservoir When Hot
Opening the coolant reservoir or radiator cap while the engine is warm can cause pressurized fluid to spray out and cause serious burns. Always wait until the engine has cooled completely - typically at least 30 minutes after driving - before inspecting or topping up coolant.
Make It a Monthly Habit
Pick one day each month - the first Saturday, for example - to run through all five fluid checks together. It takes under 20 minutes and gives you a consistent baseline. Pairing this routine with a seasonal inspection, as outlined in our seasonal car maintenance guide, keeps your vehicle in top shape year-round.
Fluid awareness pairs naturally with other routine checks. Tyre condition, for example, is equally worth monitoring - our tyre maintenance guide walks through pressure, tread depth, and rotation schedules in plain terms.