
Why Composting Is Worth the Effort
Composting is the controlled decomposition of organic material into a stable, humus-rich amendment that improves virtually every soil type. Sandy soils gain water-holding capacity; clay soils become more workable; depleted soils regain microbial life. The result - often called finished compost or humus - feeds plants slowly and consistently in a way that supports root development rather than forcing rapid, fragile growth.
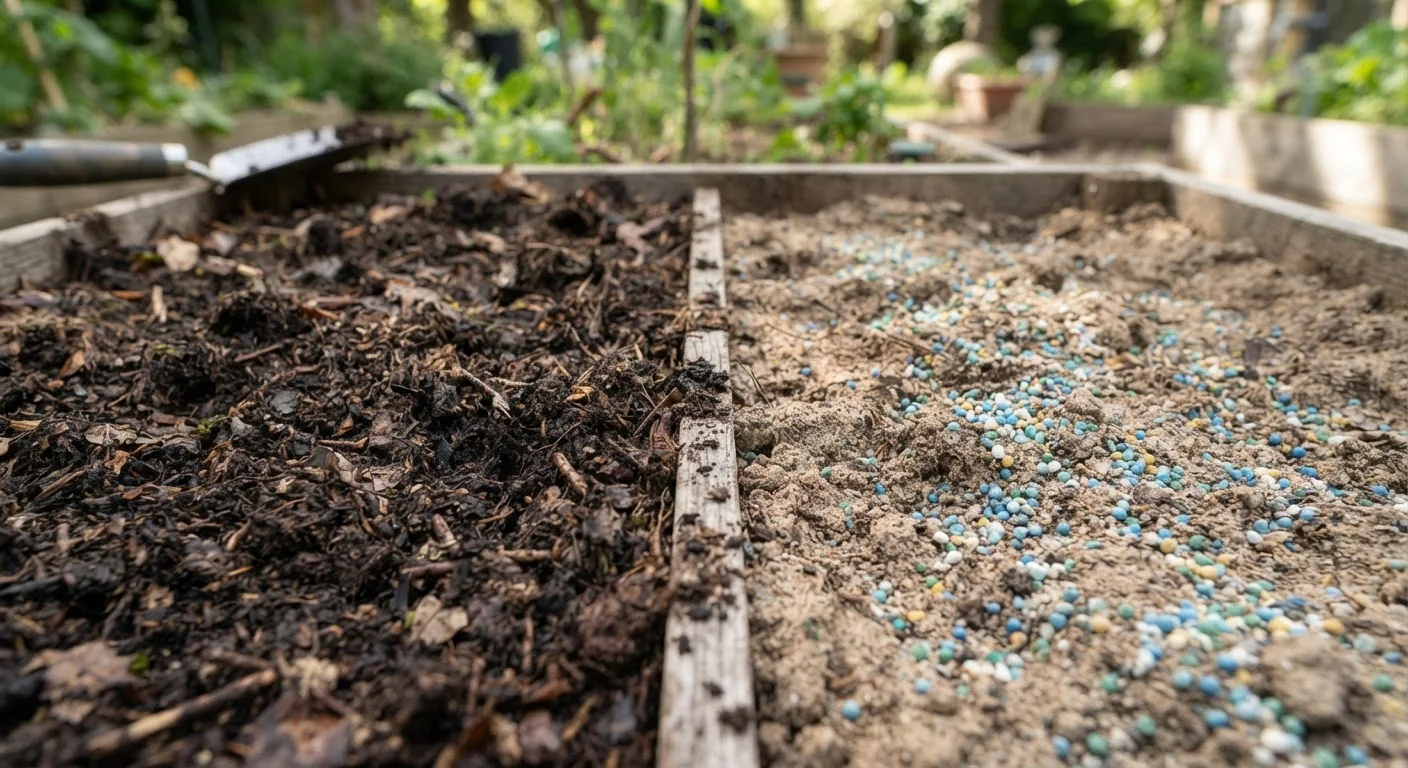
Beyond the garden benefits, composting diverts organic waste from landfills, where food scraps break down anaerobically and release methane. For cost-conscious households, it also reduces the need for purchased soil amendments. To understand how finished compost compares with packaged options, see our guide on organic matter vs. synthetic fertilizer.
Choosing the Right Compost Setup
There is no single correct system - the right choice depends on the space you have, the volume of material you generate, and how hands-on you want to be.
- Open heap or wire bin: The simplest option. Pile materials in a corner of the yard or inside a wire cylinder. Low cost, minimal assembly, but slower to heat up and less tidy.
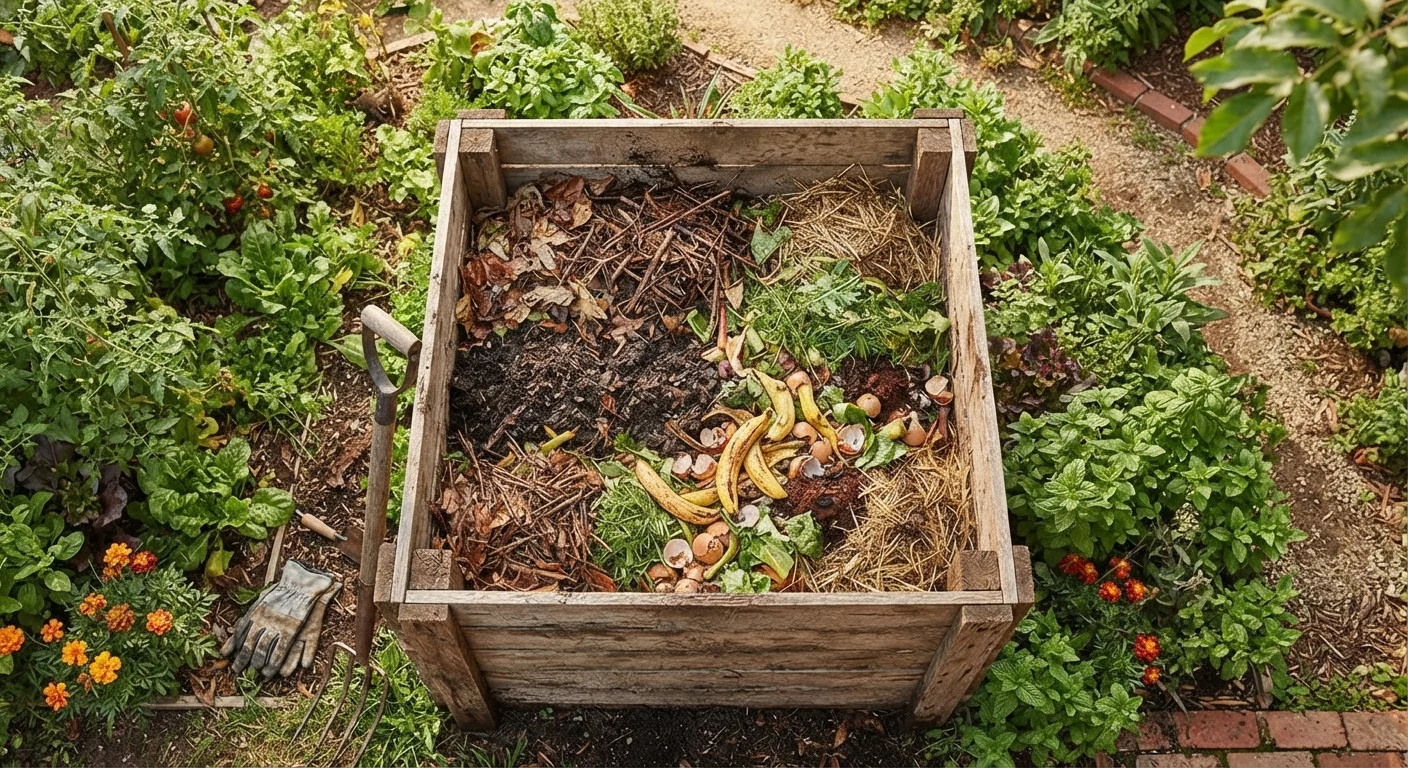
- Wooden slatted bin: Better airflow and a neater footprint. Works well for most household volumes. Removable front boards make turning and harvesting easier.
- Tumbler: A sealed drum on a frame that you rotate to aerate. Heats up quickly, deters pests, and suits smaller yards - but holds a fixed volume and can dry out if not monitored.
- Worm bin (vermicomposting): Uses red wigglers to break down kitchen scraps indoors or in a garage. Produces concentrated worm castings - an extremely nutrient-dense amendment - and works well for households with limited outdoor space.
Two-bin or three-bin systems let you add fresh material to one section while another section finishes, creating a continuous supply of compost rather than a single batch.
Keep a small lidded container on your kitchen counter for daily scraps - emptying it every two to three days prevents odors and makes adding to the outdoor bin a quick, frictionless habit.
Consistency is the biggest obstacle to home composting. Reducing the friction of collection dramatically improves how reliably people add material, which keeps the pile active.
When starting a new pile, chop or shred material into pieces no larger than 2 inches. Surface area is the single biggest lever you control for decomposition speed.
Microbes colonize surfaces. Smaller particles expose dramatically more surface area, allowing decomposers to work faster and more uniformly throughout the pile.
Layer browns and greens as you add material rather than dumping large amounts of one type at once - this naturally prevents the dense, airless pockets that cause odor and slow breakdown.
Layering distributes moisture and nitrogen more evenly from the start, reducing the need for corrective turning and producing more consistent results across the pile.
What to Add - and What to Keep Out
Compostable materials fall into two broad categories: greens (nitrogen-rich) and browns (carbon-rich). A healthy pile needs both.
Greens to add
- Vegetable and fruit scraps
- Coffee grounds and paper filters
- Tea bags (remove staples)
- Fresh grass clippings
- Plant trimmings and spent annuals
- Eggshells (not strictly green, but valuable for calcium)
Browns to add
- Dry leaves (shredded breaks down faster)
- Cardboard and paper (torn into pieces, uncoated)
- Straw or hay
- Wood chips and sawdust from untreated wood
- Paper bags and paper towels
Keep these out
- Meat, fish, and bones - attract pests and create odor
- Dairy products and oily or fatty food
- Diseased or pest-infested plant material
- Pet waste (dogs, cats) - risk of pathogens
- Treated or painted wood products
- Glossy paper
Diseased Plants and Compost: Know the Risk
Home compost piles rarely reach the sustained high temperatures needed to kill plant pathogens reliably. Adding diseased foliage - such as plants affected by powdery mildew, blight, or club root - risks spreading those problems back into your garden when you apply the compost. When in doubt, dispose of diseased material in your municipal green waste bin instead.
The Browns-to-Greens Ratio Explained
Decomposers - bacteria, fungi, and invertebrates - need both carbon (from browns) and nitrogen (from greens) to thrive. A commonly cited target is a carbon-to-nitrogen (C:N) ratio of around 25-30:1 by weight, which translates roughly to 3 parts browns to 1 part greens by volume in practical terms.
Too many greens without enough browns leads to a wet, smelly, matted pile. Too many browns without greens slows decomposition to a crawl. When in doubt, err slightly toward more browns - a slower pile is easier to correct than a smelly one.
Moisture matters equally. The pile should feel like a wrung-out sponge: damp throughout but not dripping. In dry climates or hot summers, you may need to water the pile occasionally. In wet seasons, covering it with a tarp prevents waterlogging.
Aeration is the third variable. Turning your pile with a fork every one to two weeks introduces oxygen, which speeds aerobic decomposition and prevents anaerobic pockets that cause odors. Smaller particle sizes - shredding or chopping material before adding it - also accelerate breakdown significantly.
30%
Share of household waste that is compostable
The U.S. EPA estimates that food and yard waste together make up roughly 30% of what households throw away, making composting one of the higher-impact waste-reduction actions available.
6-12 weeks
Time to finished compost with active management
A hot, actively turned pile with balanced inputs can produce finished compost in as little as six to twelve weeks under favorable conditions.
50%
Volume reduction from start to finish
A well-managed compost pile typically shrinks to roughly half its original volume - or less - as materials break down and moisture evaporates during decomposition.
Troubleshooting Common Compost Problems
Most compost issues have straightforward solutions once you identify the cause.
| Problem | Likely Cause | Fix |
|---|---|---|
| Rotten or ammonia smell | Too many greens, too wet, or not enough air | Add browns, turn the pile, check drainage |
| No decomposition activity | Too dry, too many browns, or pile too small | Add water, add greens, ensure pile is at least 3 ft × 3 ft |
| Pests (rodents) | Food scraps near the surface or prohibited items added | Bury food scraps in the center, use a bin with a solid base |
| Pile is damp but cold | Low nitrogen, cool weather, or poor aeration | Add nitrogen-rich material (coffee grounds, grass clippings), turn more frequently |
| Flies around the bin | Exposed food scraps | Cover each addition with a layer of browns |
Knowing When Your Compost Is Ready
Finished compost has a distinctive, pleasant earthy smell - similar to forest floor soil. It should be dark brown to black, crumbly in texture, and show no identifiable original materials (no recognizable food scraps, leaves, or paper). The pile will have shrunk considerably from its original volume - often to 30-50% of what you started with.
If you can still identify chunks of food or leaves, give it more time and consider turning it one more time to expose incompletely broken-down areas to fresh microbial activity. A simple bag test can help: seal a small sample in a plastic bag for three days. If it smells musty or bad on opening, it needs more time. If it smells neutral or earthy, it's ready.
Compost that is almost-but-not-quite finished is sometimes called rough compost. It can be used as a mulch layer where it will continue breaking down in place, but should not be mixed directly into soil where it may tie up nitrogen as it finishes decomposing.
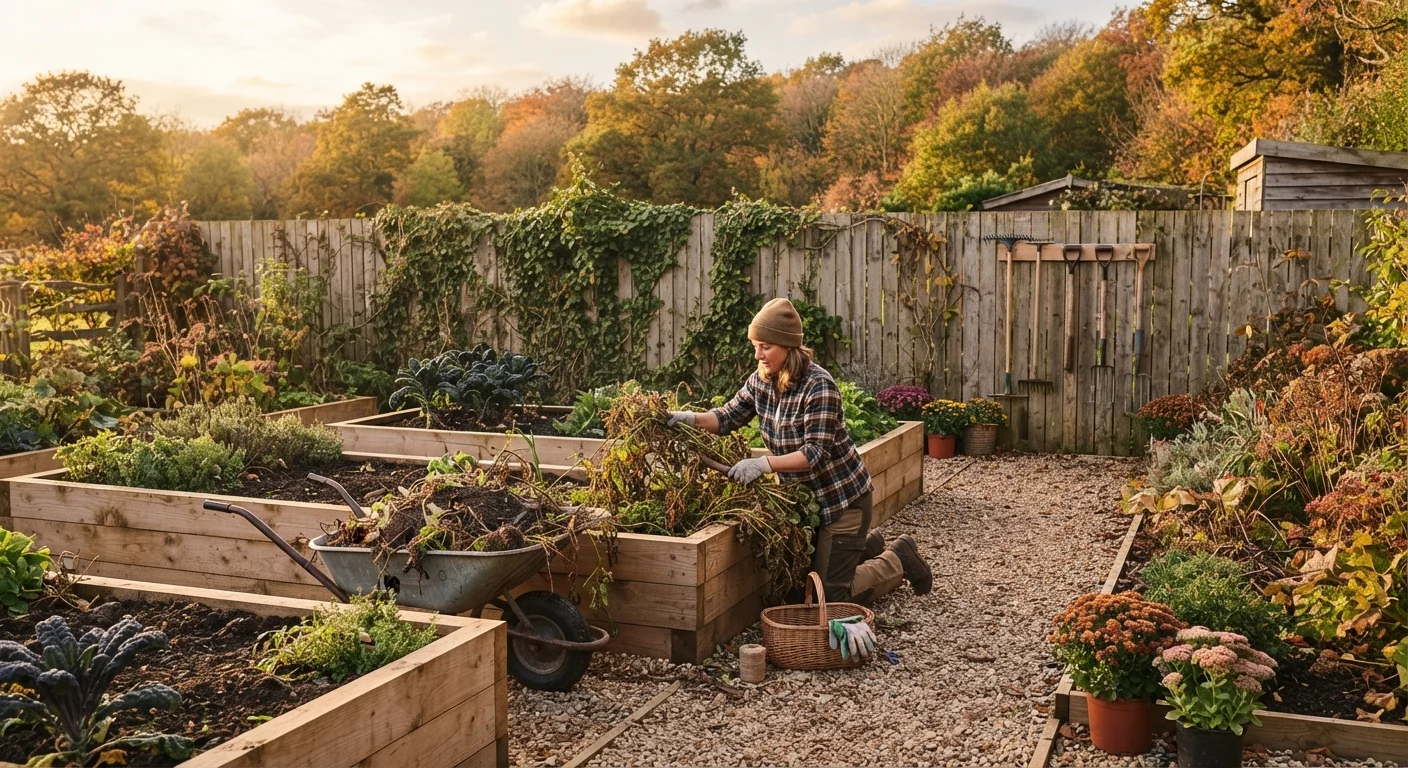
For timing context, a well-managed hot pile can finish in 6-12 weeks. A passive pile with less turning may take 6-12 months. Neither outcome is wrong - just a different investment of effort. You can incorporate compost into your seasonal garden routines; our end-of-season garden wind-down checklist includes adding finished compost to beds as a fall task.
How to Use Finished Compost in Your Garden
Finished compost is a versatile amendment, not a fertilizer with fixed nutrient percentages. Its value lies as much in improving soil structure and biological activity as in its nutrient content.
- Soil amendment: Work 1-3 inches of compost into the top 6-8 inches of a planting bed before sowing or transplanting. This is especially valuable in clay-heavy or sandy soils.
- Topdressing: Spread a thin layer (½-1 inch) over the surface of lawn or established beds. Microorganisms will gradually incorporate it.
- Potting mix component: Blend compost with garden soil and a drainage material at roughly one-third each for container growing.
- Compost tea: Steeping finished compost in water and applying the liquid can deliver soluble nutrients quickly, though evidence on effectiveness varies and results are inconsistent.
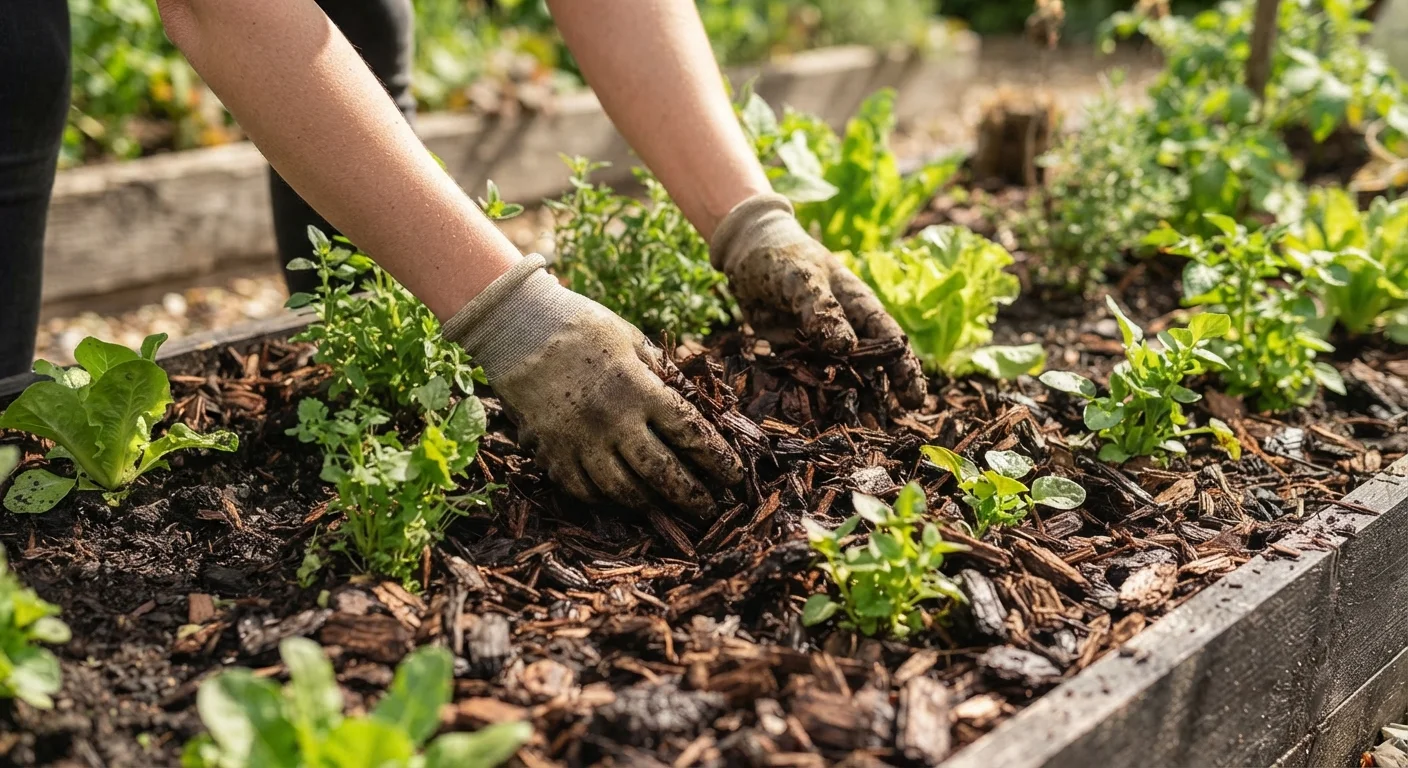
Compost works synergistically with other soil management practices. Pairing it with appropriate mulch helps retain moisture and suppresses weeds - see our guide on mulching your garden beds the right way. If your soil has persistent pH issues, compost alone may not fully resolve them; our article on soil pH and why your plants are struggling explains how to test and adjust pH alongside organic amendments.