
Why Wiper Blade Condition Is a Safety Issue
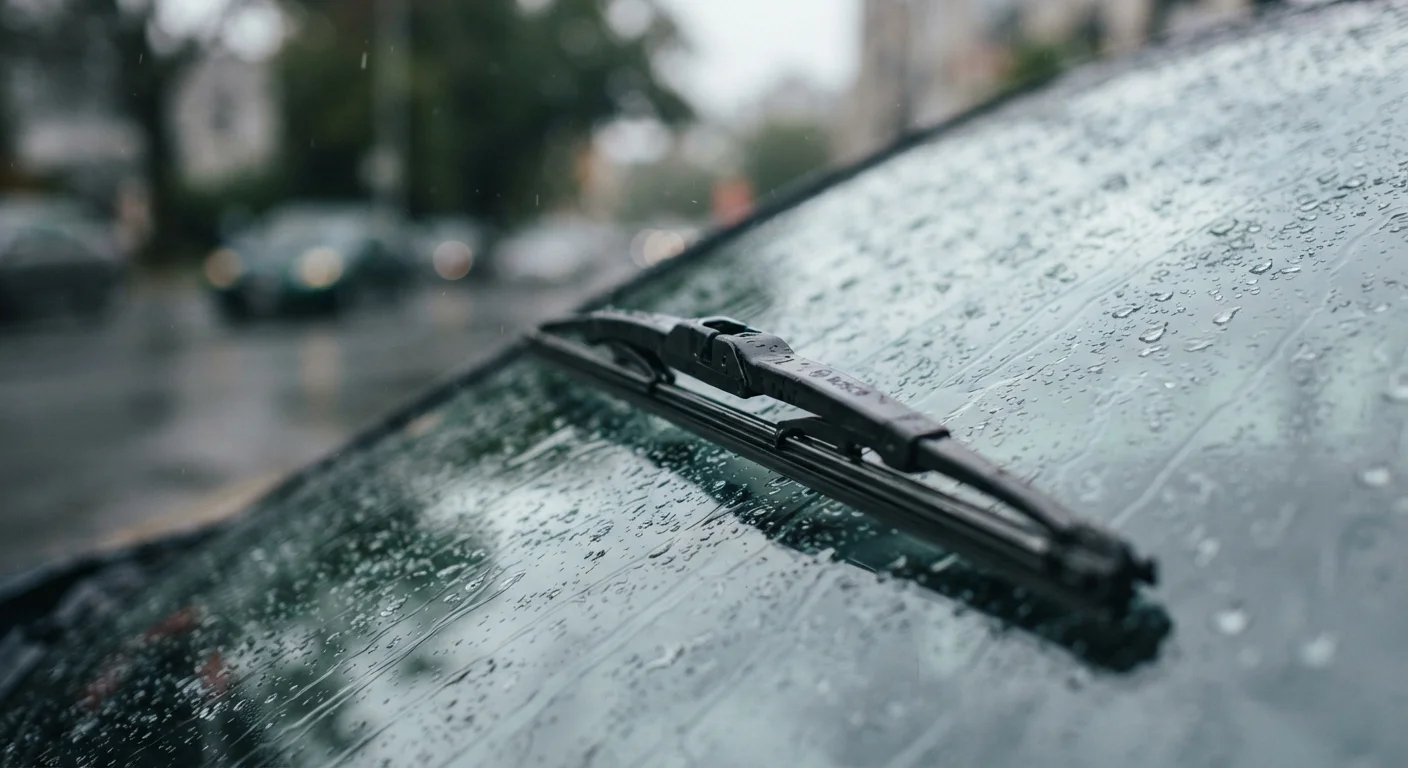
Wiper blades are a consumable - the rubber degrades through UV exposure, temperature cycling, and repeated friction against glass, whether or not it rains. A blade that looks intact from a distance may have hardened, cracked, or developed a deformed edge that no longer conforms cleanly to the windshield curve.
The result isn't just an annoyance. Streaking and smearing during rain or sleet can cut effective visibility by a significant margin at speed. Replacing blades on schedule is a simple act of preventive maintenance with a direct safety payoff.
As a rule of thumb, plan to replace wiper blades every six to twelve months. Drivers in climates with harsh winters, heavy UV exposure, or frequent use may find blades degrade closer to the six-month end of that range.
Worn Blades Reduce Visibility Significantly
Streaking and smearing don't just annoy - they create dangerous blind spots during rain or sleet. The National Highway Traffic Safety Administration links reduced visibility to a meaningful share of weather-related crashes. Treating wiper blades as a safety item rather than a convenience item is the right frame of reference.
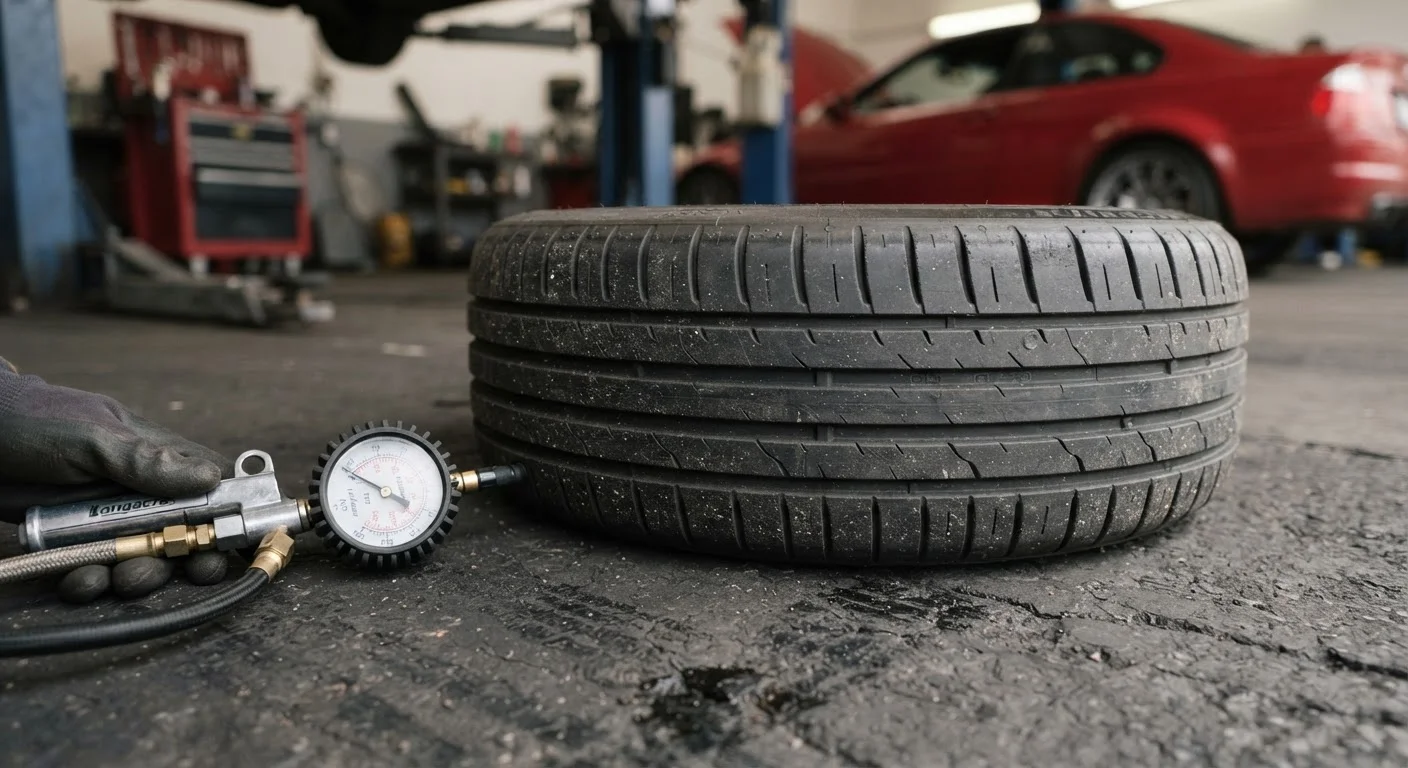
Good wiper maintenance pairs well with other visibility and safety checks. If you haven't reviewed your tyre condition recently, our tyre maintenance guide walks through pressure, tread, and wear indicators in plain terms.
What Separates a Good Blade from a Mediocre One
Beyond blade style - traditional bracket, beam, or hybrid - the quality of the rubber compound is the single biggest driver of performance and longevity. Natural rubber softens and cracks faster under UV exposure. Silicone compounds resist hardening across a wider temperature range and typically last longer, making the higher upfront cost reasonable over time.
Frame rigidity also matters. A blade that flexes unevenly across the windshield's curved surface won't maintain consistent pressure, leading to the skipping and streaking that signals uneven contact. Beam blades apply continuous pressure along the full edge, which is why they tend to outperform traditional frames in winter conditions where ice can jam bracket assemblies.
Replace Blades Before Winter, Not After
Autumn is the best time to fit new wiper blades. Fresh rubber performs better during the season when you need reliable visibility most. If your blades are already six months old in October, replace them regardless of apparent condition - the cost is low and the safety margin is real.
What doesn't matter as much as marketing suggests: brand name. The physical design and rubber quality are what count. Focus on those attributes - available in the product specifications - rather than logo recognition.
What you will need
How to Replace Your Wiper Blades
Fitting replacement wiper blades is one of the most accessible DIY maintenance tasks available to everyday drivers. No special tools are required beyond the blades themselves, and the process takes most people under twenty minutes. Follow the steps below carefully, paying particular attention to the correct sizing and the bare-arm caution.
Tape measure or ruler
Measures the existing blade length so you purchase the correct replacement size.
Soft cloth or paper towels
Wipes the windshield clean while the old blades are removed, preventing scratches.
Vehicle owner's manual
Confirms the manufacturer-recommended blade sizes for driver and passenger sides.
Check your current blades for wear
Run your wipers through a full cycle on a wet windshield and watch closely. A worn blade will leave one or more of these clues:
- Streaking: water smears across the glass rather than clearing cleanly
- Skipping: the blade bounces or chatters across the screen
- Squeaking: persistent noise even on a wet surface
- Smearing: a greasy film that worsens visibility
Also lift the arm away from the glass and run a finger along the rubber edge. If it feels hard, cracked, or noticeably torn, the blade is past its useful life.
Measure the blades and identify the right replacements
Most vehicles use two different blade lengths - the driver's side is typically longer. Measure each blade from tip to tip while it's still attached, or check your owner's manual for the exact sizes. Note both measurements before shopping.
If your vehicle has a rear wiper, measure that separately as well - rear blades are often overlooked and degrade at the same rate.
Choose a blade type suited to your conditions
Three main frame styles are available:
- Traditional (bracket) blades: A metal frame holds multiple contact points along the rubber strip. Widely available and affordable, but the frame can collect ice and snow.
- Beam (bracketless) blades: A single curved piece of rubber or silicone with no external frame. Maintains even pressure across the glass and performs better in winter conditions.
- Hybrid blades: A hard plastic shell over an internal frame, combining weather resistance with multi-point pressure.
Silicone rubber generally lasts longer and performs better in temperature extremes than standard natural rubber, though it costs more upfront.
Remove the old blades
Lift the wiper arm away from the windshield until it locks upright. Most arms have a small tab or button where the blade attaches - press or squeeze it to release the blade from the hook. Slide the blade down and off the arm.
Lay a folded cloth on the windshield before letting go of the arm. If the arm snaps back unloaded, the metal can crack the glass.
Fit the new blades and test
Slide the new blade onto the hook in the same orientation the old one came off. You should hear or feel a positive click when it locks into place. Gently lower the arm back onto the glass - do not drop it. Repeat on the passenger side and rear wiper if applicable.
Spray the windshield with washer fluid and run the wipers through several full cycles. The glass should clear cleanly with no streaks, skips, or noise on the first or second pass.
Once you've confirmed clean, streak-free wiping, top up your washer fluid reservoir if it's running low. Blades and fluid work as a system - good rubber on an empty reservoir still leaves you with a dirty screen when you need it most.
One Size Does Not Fit All
Driver-side and passenger-side blades are almost never the same length. Fitting the wrong size can leave uncovered areas on the glass or prevent the blade from seating properly on the arm. Always confirm both measurements independently before purchasing replacements.