
Why a Room Audit Comes Before Decluttering
Most decluttering sessions stall because they skip the assessment phase. You pull something out of a drawer, feel uncertain, and put it back. Multiply that moment by a hundred items and a full Saturday disappears with nothing resolved.
A room audit changes the sequence: you evaluate before you sort, so decisions come faster and stick. Think of it as a diagnostic pass - you're gathering information about what the room holds, what it's supposed to do, and where it's failing you. Only then does the physical work of removing things make sense.
If you're still working through the basics of where to start, see our beginner's guide to home organization before running this checklist. And if your project edges into structural changes or renovations, a pre-renovation audit covers that distinct process.
One Room at a Time - Always
Attempting to audit multiple rooms in a single session almost always results in items being shuffled between spaces without resolution. Commit to completing the full checklist for one room before moving to the next. If a room is large (a basement, garage, or open-plan living area), divide it into defined zones and treat each zone as its own audit unit.
What You'll Need Before You Start
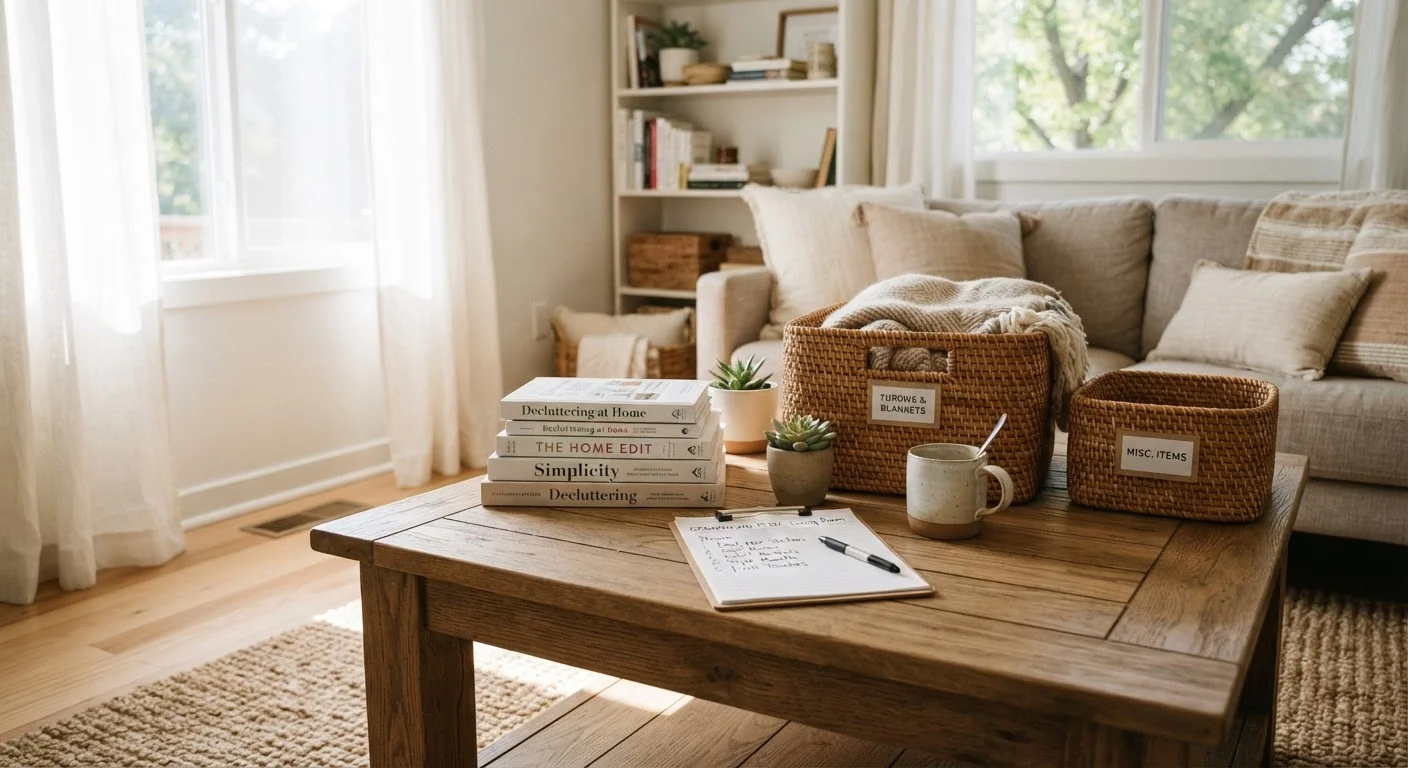
Gather your supplies before entering the room. Stopping mid-audit to find a pen or bag breaks momentum and invites distraction. Keep the setup simple - the goal is observation and notation, not full-scale removal just yet.
Notebook or note-taking app
Records zone observations, item flags, and storage gaps during the audit without requiring you to rely on memory.
Sticky notes or colored tape
Provides a quick visual tagging system to flag items as Keep, Donate, Discard, or Relocate without moving anything yet.
Boxes or large bags (at least three)
Holds staged items once you're ready to move from audit to action - one per category keeps decisions visible and organized.
Smartphone camera
Documents the room's before-state and captures the contents of crowded drawers or shelves for review without repeated physical access.
Timer
Keeps the audit phase time-boxed so it doesn't expand into an unplanned full declutter before you're ready.
The Room Audit Checklist
Work through each group in order. Resist the urge to start physically moving things during the audit phase - note your observations first, act second. Each group takes roughly five to fifteen minutes depending on room size and clutter density.
Room Setup & Preparation
Zone & Friction Assessment
Item-by-Item Evaluation
Condition & Safety Check
Storage & Systems Review
Don't Declutter While Auditing
It's tempting to start removing items the moment you flag them, but mixing the audit and action phases leads to decision fatigue and incomplete assessments. Finish your full room audit first - including the storage review - before moving or discarding anything. This separation is what makes the subsequent declutter session faster and more decisive.
Turning Your Audit Notes Into Action
Once you've completed the audit, you'll have a written snapshot: zones that aren't working, items flagged for removal, and a clearer sense of how the room should function. Use these notes to sequence your actual declutter session - tackle the highest-friction zones first since they'll deliver the most immediate relief.
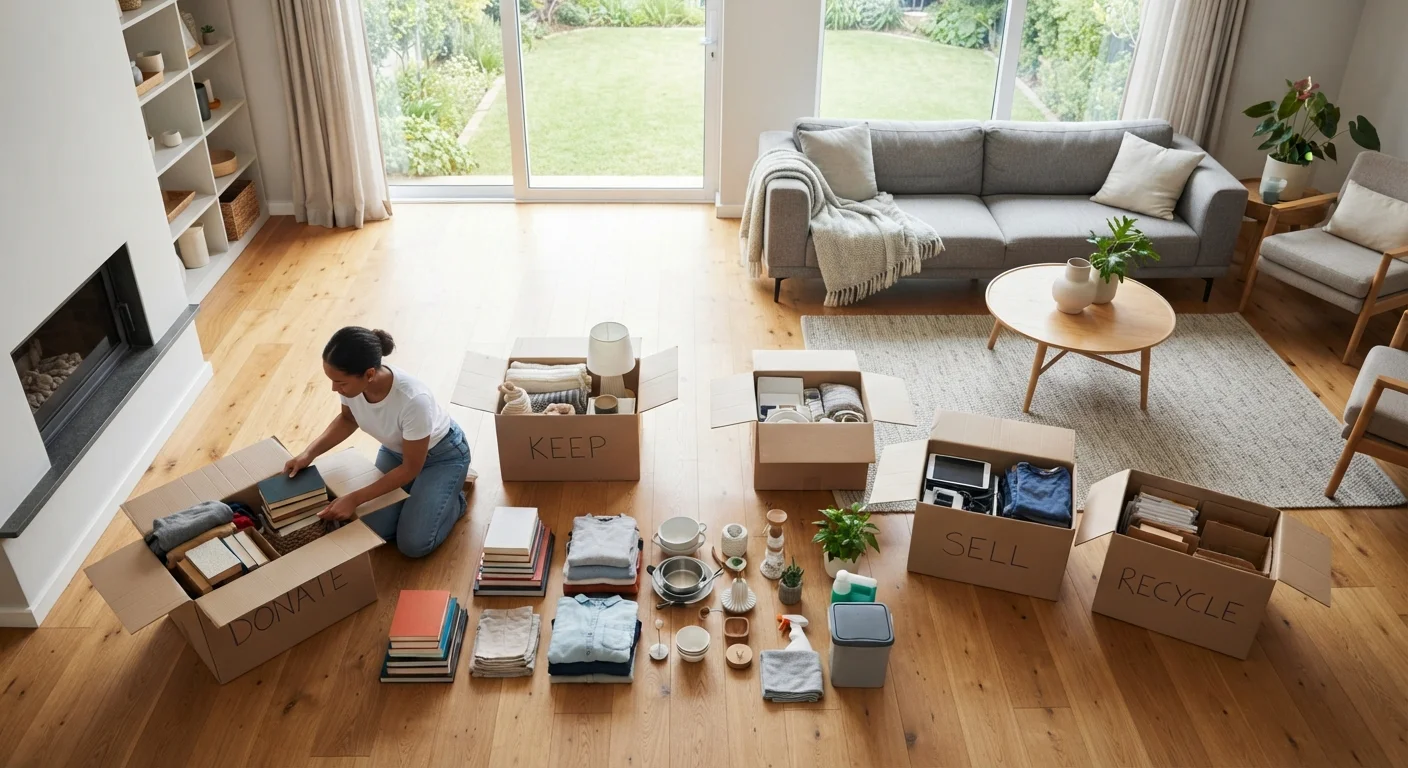
Group your flagged items into three staging areas before removing anything permanently: Keep & Relocate (things that belong in a different room), Donate or Sell (usable items leaving the home), and Discard (broken, expired, or irreparable items). Having physical zones prevents the common mistake of re-sorting the same item multiple times.
Finally, note any storage gaps your audit revealed. Clearing space without addressing underlying storage deficits means clutter returns quickly. Your audit observations are essentially a brief for smarter organization - treat them that way. This same diagnostic mindset applies beyond the home: a pre-learning checklist uses a nearly identical audit-first approach when evaluating whether to commit to a new skill.