
Why Building Your Own Toolkit Pays Off
Most home improvement projects - hanging shelves, patching drywall, replacing a door handle, assembling flat-pack furniture - don't require a contractor. They require a handful of reliable tools and the confidence to use them. Building your own toolkit is one of the most cost-effective investments a homeowner can make: the same screwdriver that tightens a loose hinge today will serve you for twenty years of future fixes.
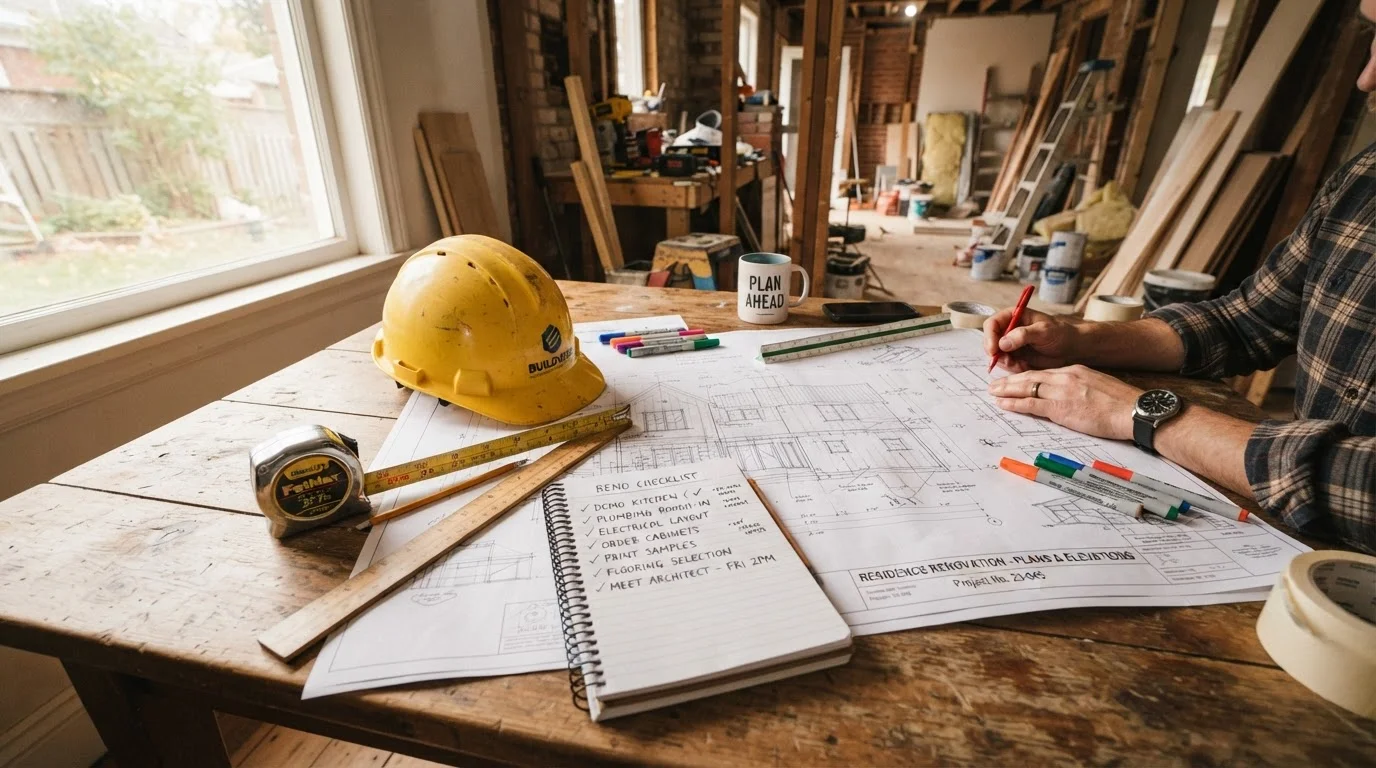
The key word is building. Rather than buying a 150-piece kit you'll mostly never open, the smarter approach is to acquire tools project by project, always choosing quality over quantity. Before your first real project, though, there's a sensible baseline worth having in place. See our pre-project audit checklist for what else to review before work begins.
Build Gradually, Not All at Once
Resist the urge to buy everything before your first project. Start with the hand tool essentials and a drill-driver, then add tools as specific projects require them. This approach ensures every tool earns its place - and you learn to use each one properly before moving on.
Essential Hand Tools Every Homeowner Needs
Hand tools form the backbone of any toolkit. These are the items you'll reach for on nearly every job:
- Claw hammer (16 oz): Drives and pulls nails, light demolition, and general striking tasks. A smooth-faced steel head with a fiberglass or hickory handle offers durability without excess weight.
- Screwdrivers: At minimum, one flathead and two Phillips sizes (No. 1 and No. 2). A set with interchangeable bits is compact and versatile.
- Adjustable wrench (10-inch): Handles nuts and bolts across a range of sizes without needing an entire socket set.
- Needle-nose pliers and slip-joint pliers: Needle-nose reaches into tight spaces; slip-joint handles general gripping tasks.
- Utility knife: Scores drywall, cuts rope, opens packaging, and trims shims. Keep spare blades on hand.
- Pry bar (mini): Removes trim, pries apart boards, and pulls stubborn nails cleanly without damaging surfaces.
Pilot hole
A small hole drilled before driving a screw or fastener, preventing wood from splitting and making the screw easier to drive straight.
Spirit level
A tool containing a sealed liquid-filled tube used to determine whether a surface or object is perfectly horizontal (level) or vertical (plumb).
Dimensional lumber
Standard-sized wood boards sold by nominal measurements (e.g., 2×4) used in framing, shelving, and general construction.
Stud
A vertical framing member inside a wall - typically wood - that provides structural support and a secure anchor point for shelves, fixtures, and hardware.
Torque
The rotational force a drill or driver applies when turning a screw. Adjustable torque settings prevent over-driving screws into soft materials.
These tools cost relatively little individually and collectively cover an enormous range of everyday repairs.
Power Tools Worth the Investment
Power tools amplify what you can accomplish in an afternoon. For a beginner, three cover most projects:
- Cordless drill-driver (18V): Drills pilot holes, drives screws, and with the right bit, sands small surfaces. An 18-volt lithium-ion model with two batteries is the standard starting point. This is the single tool most DIYers use most often.
- Circular saw: Cuts dimensional lumber, sheet goods, and decking. Always clamp your workpiece and use a straightedge guide for clean, repeatable cuts. Eye and ear protection are non-negotiable.
- Random-orbit sander: Prepares surfaces for painting or staining faster and more evenly than hand-sanding.
A jigsaw is a worthwhile fourth addition once you're tackling curved cuts or notches, but it's not essential at the start. Resist buying tools speculatively - adding them when a project actually demands them keeps spending purposeful.
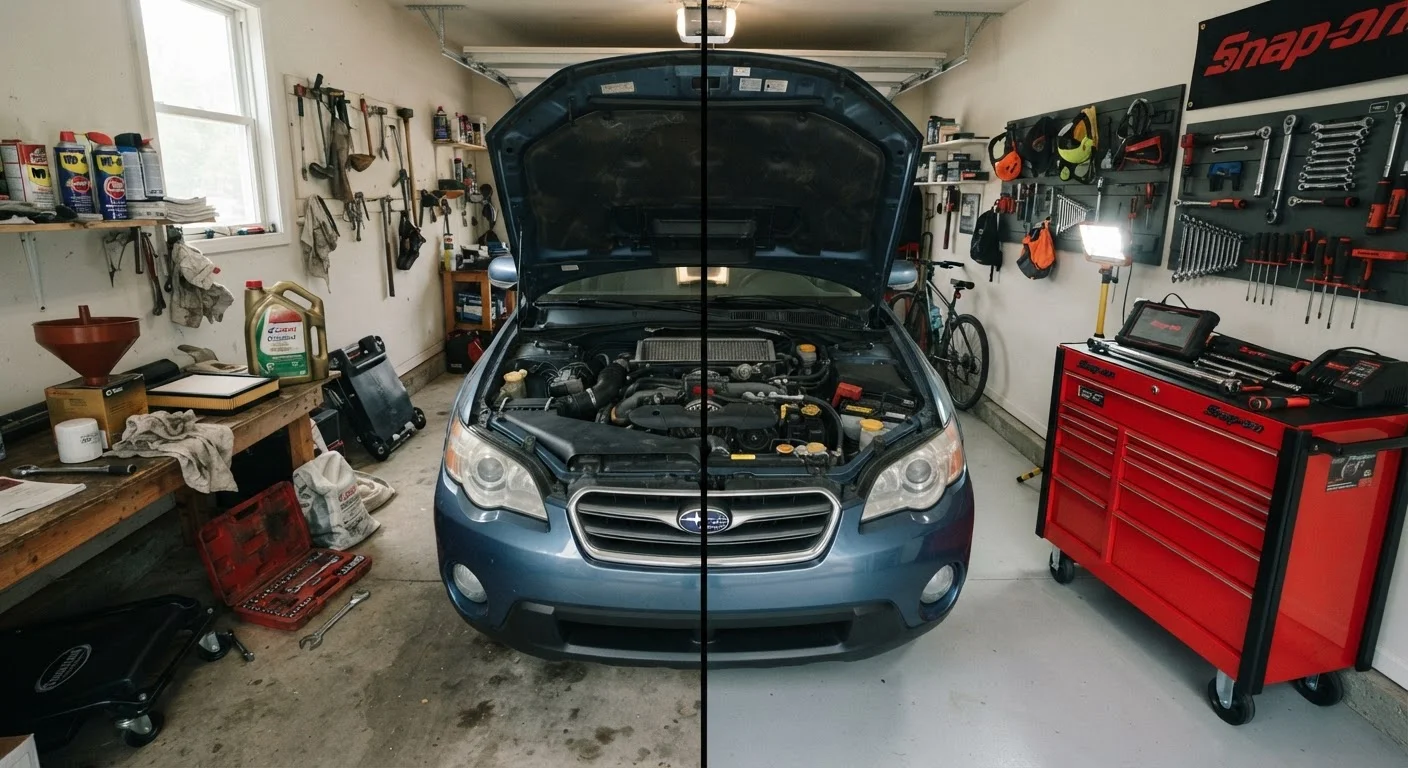
The same principle applies in other DIY domains: knowing which tasks call for which tools - and when professional help is genuinely warranted - is a theme that runs across all home maintenance work, much as it does for vehicle maintenance.
Measuring and Layout Gear
Inaccurate measuring is the most common source of wasted materials and frustrating rework. These tools keep your work square, level, and correctly sized:
- Tape measure (25 ft): A locking blade with both imperial and metric markings. The 25-foot length handles room measurements without awkward extensions.
- Spirit level (24 inch): Essential for shelving, framing, and tiling. A 24-inch level catches errors that a phone app simply won't detect reliably.
- Speed square: Marks 90-degree and 45-degree angles quickly on lumber before cutting. Small, inexpensive, and constantly useful.
- Stud finder: Locates wall framing so you can anchor shelves and fixtures securely instead of guessing.
- Chalk line: Snaps a straight reference line across large surfaces - invaluable for flooring, tile, or any layout spanning more than a few feet.
Write measurements down. The old carpenter's rule - measure twice, cut once - is cliché because it's true.
Organizing and Storing Your Tools
A tool you can't find quickly is a tool that slows you down. Even a modest collection benefits from consistent organization. A few practical approaches:
- Toolbox or rolling cart: A mid-size toolbox handles a starter kit comfortably. A rolling cart becomes worthwhile once your collection grows beyond a single tray.
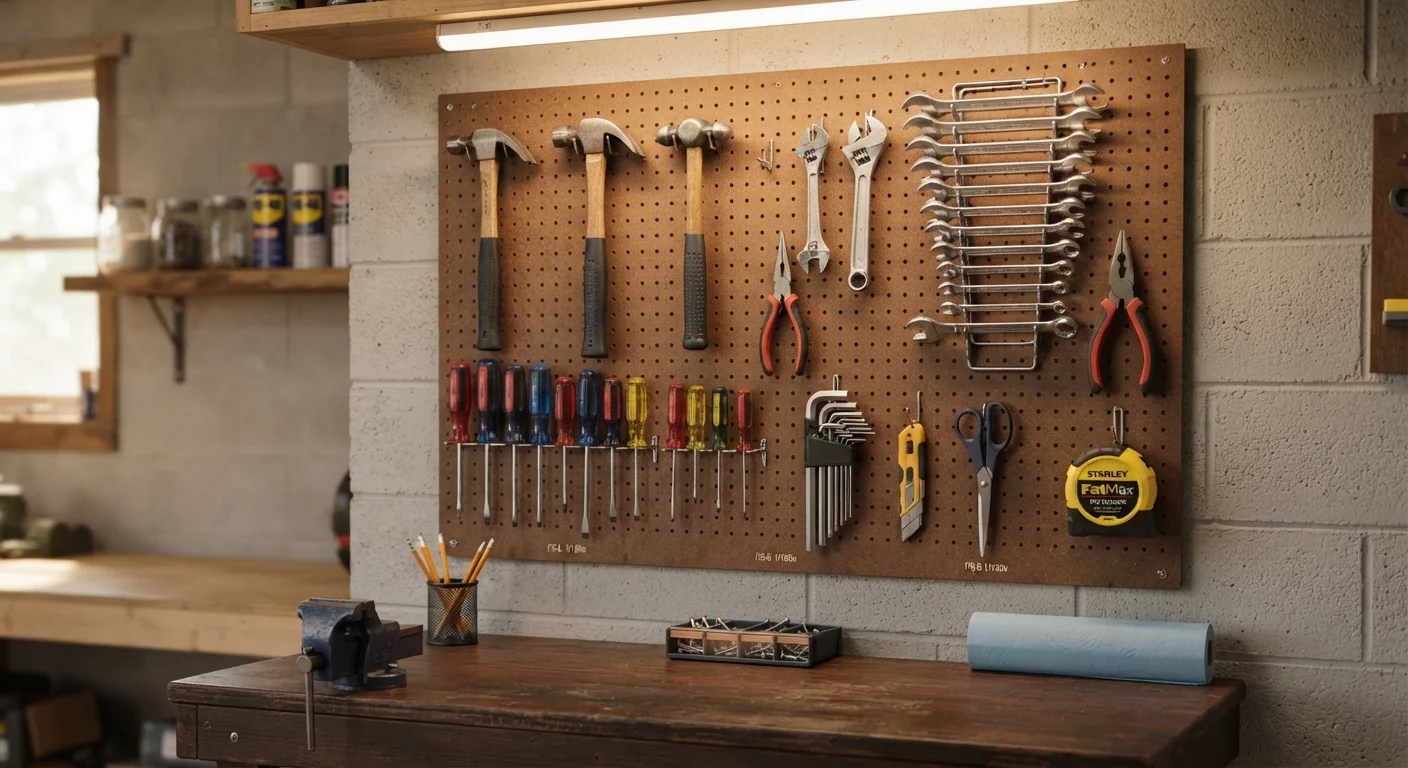
- Pegboard wall panel: Keeps frequently used hand tools visible and within reach. Hooks and holders are inexpensive and fully rearrangeable.
- Labeled bins for hardware: Screws, anchors, bolts, and nails sorted by size in labeled containers saves significant time mid-project.
Store tools away from moisture. Concrete garage floors can wick dampness - keep metal tools elevated and wipe them down occasionally with a lightly oiled cloth to prevent rust. If your tool collection is growing alongside efforts to reorganize other parts of your home, our room-by-room organization guide offers complementary strategies for every space.
Know When to Call a Professional
Electrical panel work, gas line repairs, load-bearing structural changes, and connections to main plumbing lines are not DIY territory for most homeowners. These tasks typically require permits, inspections, and licensed tradespeople. Attempting them without proper credentials can create safety hazards and may violate local building codes - always verify local requirements before starting any major project.