
Why the Engine Air Filter Matters
Your engine needs a precise mixture of fuel and air to run. The air filter is the gatekeeper - it traps dust, pollen, debris, and other particles before they can enter the engine and cause wear. When that filter becomes clogged, airflow is restricted, and the engine has to work harder than it should.
The consequences of a heavily restricted filter can include sluggish throttle response, slightly reduced fuel efficiency, and in severe cases, rough idling. None of this is catastrophic in the short term, but neglecting the filter indefinitely adds unnecessary stress to components that are far more expensive to replace.
The good news: this is one of the easiest maintenance items any driver can handle at home. Unlike an oil change - which involves draining fluids and proper disposal - swapping an air filter requires nothing more than locating the airbox and making a swap. For a broader look at which tasks belong in the driveway versus the shop, see our guide to DIY versus professional maintenance.
Check the Filter on Every Oil Change
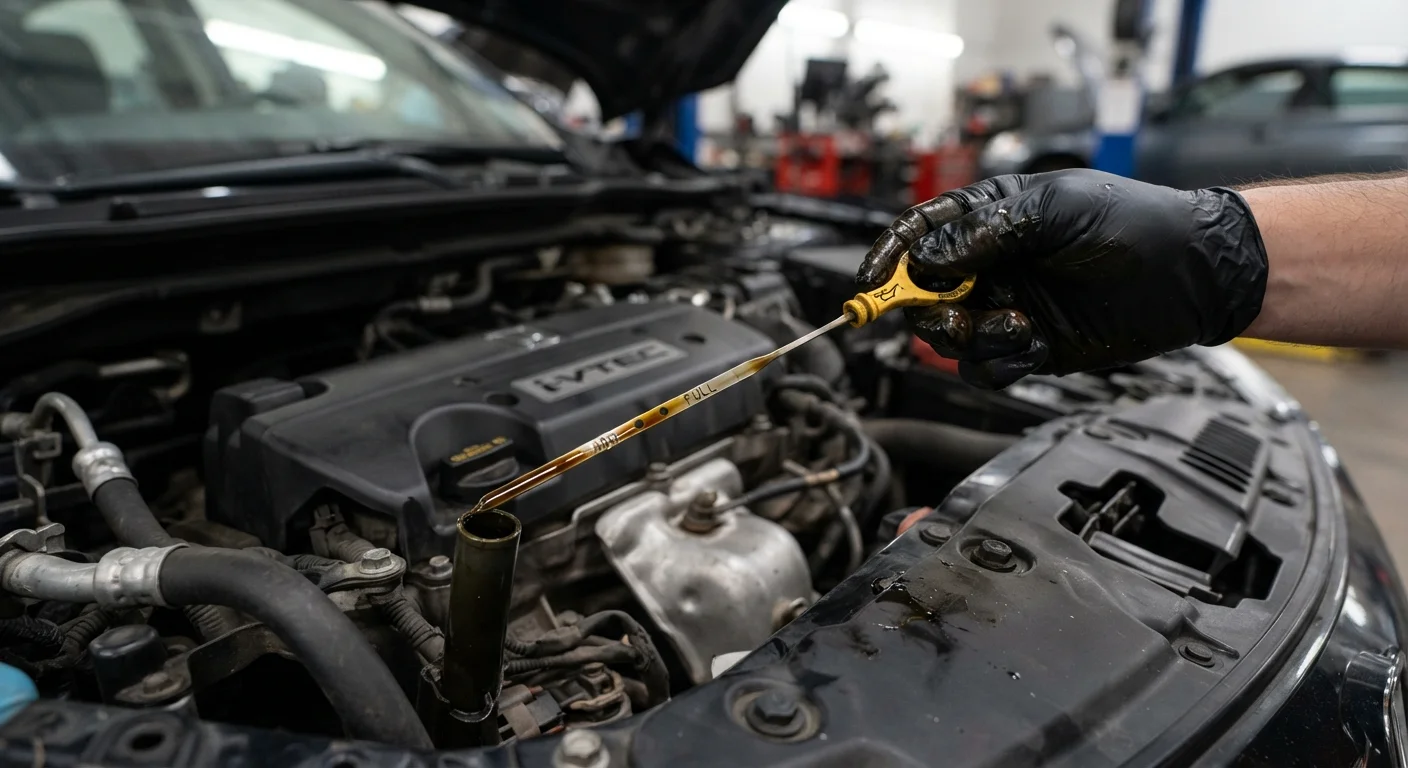
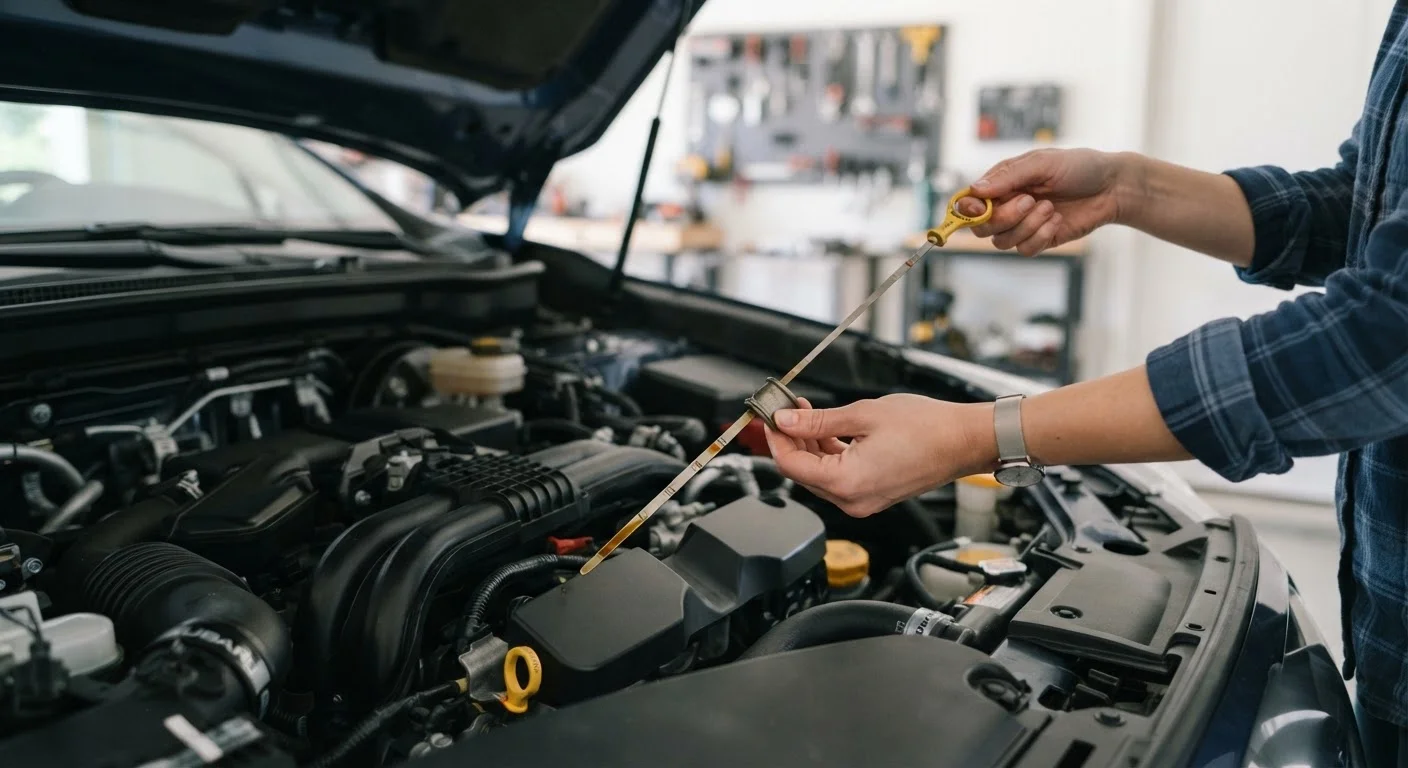
Making air filter inspection a habit every time you check your oil - or have it changed - means you'll never let it go too long unnoticed. It adds less than a minute to the process and keeps you ahead of the maintenance curve. For more on separating routine service fact from fiction, see our oil change myths breakdown.
What You'll Need
This job demands very little. Before you start, gather the following:
What you will need
Replacement engine air filter
The core component you are installing - must match your vehicle's exact make, model, and engine specification.
Screwdriver (flat-head or Phillips)
Used to remove screws securing the airbox lid on vehicles that don't use tool-free clips.
Clean, dry cloth
Used to wipe any dust or debris from inside the airbox housing before installing the new filter.
Owner's manual
Confirms the correct filter specification, airbox location, and manufacturer-recommended replacement interval.
How to Replace Your Engine Air Filter
Follow these steps carefully. The exact airbox design varies by vehicle, so consult your owner's manual if anything looks unfamiliar before proceeding.
Let the Engine Cool and Pop the Hood
If you've just driven the vehicle, allow at least 10 minutes for the engine to cool before reaching into the engine bay. Engage the parking brake, turn off the ignition, and prop the hood open securely using the hood support rod.
Locate the Air Filter Housing (Airbox)
The airbox is typically a black plastic box, often rectangular or square, connected to a large intake hose or duct. On most vehicles it sits near the top of the engine, making it easy to spot. The airbox may have a lid secured by metal clips, wing nuts, or screws depending on the vehicle.
Open the Airbox and Remove the Old Filter
Unclip the retaining clips, unscrew the wing nuts, or use a screwdriver to remove any fasteners holding the airbox lid in place. Lift the lid carefully - it may still be attached to an air intake duct, so don't force it. Note the orientation of the existing filter (which way it faces), then lift it straight out.
Inspect the Housing and Install the New Filter
Before inserting the new filter, glance inside the airbox for any leaves, insects, or debris and remove them with a cloth. Place the new filter in the same orientation as the old one, ensuring it seats flat and flush against the housing walls with no gaps around the edges. An improperly seated filter can allow unfiltered air to bypass it entirely.
Close and Secure the Airbox Lid
Reattach the lid and fasten all clips, nuts, or screws until they are snug. Tug gently on the lid to confirm it's secure. Reconnect any intake ducts or hoses you may have loosened to gain access, checking that clamps or connectors are properly seated.
Gaps Around the Filter Can Cause Damage
If the air filter isn't seated properly against the walls of the housing, unfiltered air carrying fine particles can bypass the filter and enter the engine. Over time, this can cause accelerated wear on internal components. Always confirm the filter sits flat and flush with no visible gaps before closing the airbox lid.
When to Inspect and Replace
Most manufacturers suggest replacing the engine air filter every 15,000 to 30,000 miles under normal driving conditions. However, if you regularly drive on unpaved roads, in dusty environments, or through heavy construction zones, you may need to replace it more frequently. The interval in your owner's manual is the most reliable starting point for your specific vehicle.
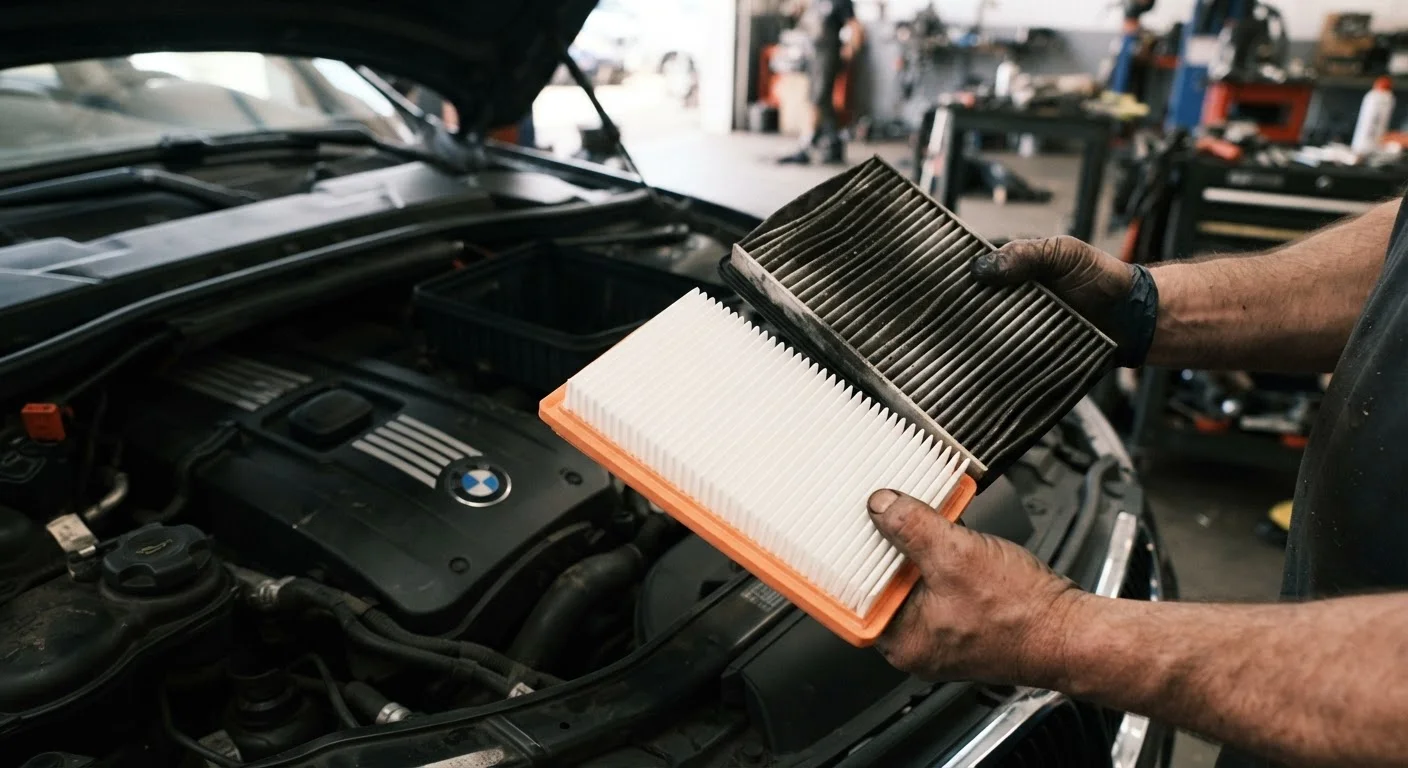
A visual check takes about 30 seconds. A new filter is typically white or light gray. One that's dark brown or black with visible debris embedded throughout is ready for replacement. A filter that looks slightly gray but is otherwise clean can usually go a little longer - use your judgment and your owner's manual together.
Pairing your air filter check with other under-hood inspections is smart habit-building. Our fluid checks guide walks through each reservoir you should be monitoring on the same visit. And if you want to challenge other common upkeep assumptions, the oil change myths article is worth a read.
This article provides general maintenance guidance for informational purposes only. Always consult your vehicle's owner's manual and, where uncertain, a qualified mechanic before performing any service.