
Choosing the Right Method for the Damage
Not all drywall damage is created equal, and using the wrong repair approach is the most common reason patches remain visible after painting. Understanding the three main damage categories will save you time, money, and frustration.
Nail Holes and Shallow Dents (Up to ¼ inch)
These are the simplest repairs. A single application of spackling compound or lightweight joint compound - pressed in with a putty knife, allowed to dry, and sanded flush - is all that's needed. No tape, no backer.
Small to Medium Holes (¼ inch to 6 inches)
This range covers doorknob dents, accidental punctures, and outlet cutout errors. A self-adhesive mesh patch or a California patch (using the drywall's own paper face as a hinge) works well here. These methods provide enough support to hold joint compound without sagging.
Large Holes (Over 6 inches)
At this size, you need a solid anchor point. Cut the damaged area into a clean square or rectangle, install wood backing strips or drywall repair clips behind the opening, then screw in a cut-to-fit drywall piece. This is the only reliable method for damage of this scale.
Check for Utilities Before Cutting
Before using a drywall saw to cut out a large damaged section, verify there are no electrical wires, plumbing pipes, or HVAC ducts behind the wall. Use a stud finder with AC wire detection, or drill a small inspection hole first and use a flashlight to check. Cutting into a live wire or pipe is a serious safety and structural hazard - if you're uncertain, consult a licensed electrician or plumber before proceeding.
What You'll Need
Gather your materials before starting - stopping mid-repair to hunt for tools can ruin wet compound and extend drying time unnecessarily.
What you will need
Putty knife or taping knife (6-inch)
Applies and feathers joint compound smoothly across the repair area.
Joint compound (all-purpose or lightweight)
Fills and levels the patched area over multiple thin coats.
Self-adhesive mesh patch
Bridges small to medium holes and provides a surface for joint compound to grip.
Drywall repair clips or wood backing strips
Creates a solid anchor point behind large holes for screwing in a replacement drywall piece.
Sandpaper (120-grit and 150-grit)
Smooths dried compound layers flush with the surrounding wall surface.
Drywall primer
Seals the patched surface so finish paint absorbs evenly across the repair and surrounding wall.
Drywall saw
Cuts damaged drywall into a clean, square opening for large-hole repairs.
Step-by-Step Patching Instructions
Follow these steps in order. The most critical rule in drywall work is patience: rushing drying time is the single biggest cause of cracked, crumbling patches.
Clean and Prep the Damaged Area
Remove any loose paper, crumbled gypsum, or protruding fasteners from the damaged area. For nail holes, tap any raised nail heads just below the surface with a hammer. For larger holes, trim jagged edges with a drywall saw so you have a clean border to work with. Dust the area with a dry cloth.
Select and Apply the Appropriate Patch Method
For nail holes and small dents, skip to Step 3. For holes between ¼ inch and 6 inches, center a self-adhesive mesh patch over the hole and press firmly to ensure full contact. For holes over 6 inches, cut the damaged section into a rectangle, screw wood backing strips horizontally behind the top and bottom edges (leaving half the strip exposed as a nailing surface), then cut a replacement drywall piece to fit and screw it into the backing.
Apply the First Coat of Joint Compound
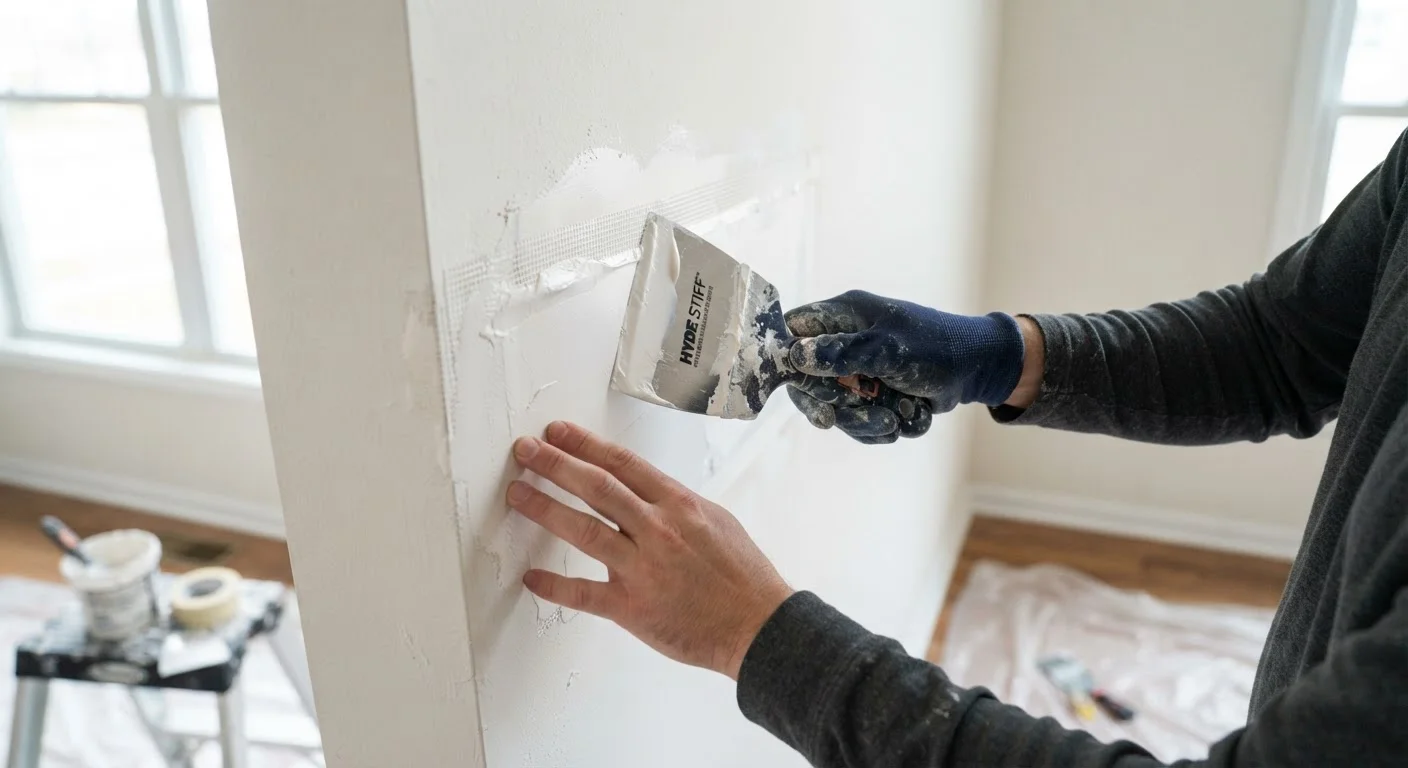
Using your taping knife held at roughly a 30-degree angle, spread joint compound across the patch in thin, even strokes. For mesh-patched holes, embed paper or fiberglass tape over the mesh before this coat if the hole is near the upper size limit of the method. Feather the compound 3-4 inches beyond the patch edges so there is no visible ledge. Let dry completely - typically 4-8 hours depending on humidity and temperature.
Sand, Inspect, and Apply Subsequent Coats
Once the first coat is fully dry (it will appear uniformly white, not dark or translucent), sand lightly with 120-grit sandpaper to knock down any ridges or trowel marks. Wipe away dust with a damp cloth and let it dry briefly. Apply a second thin coat, feathering edges slightly further out than the first. Most repairs need two to three coats total. After the final coat, sand with 150-grit until the surface is flush and smooth.
Prime and Paint the Repaired Area
Apply a coat of drywall primer to the entire patched area and a few inches of surrounding wall. Allow to dry per the manufacturer's label. Once primed, paint the area with your finish paint. For best results, roll or brush paint slightly beyond the primed area to blend the sheen. Two paint coats typically produce the most consistent result over a patch.
Match Your Texture Before You Prime
If your walls have a knock-down, orange-peel, or any other applied texture, replicate it on the patch before priming and painting. Practice on a piece of cardboard first to dial in the right technique and tool pressure. A smooth patch on a textured wall will remain visible regardless of how well the compound work was done.
Common Mistakes and Finishing Notes
Even experienced DIYers fall into a few predictable traps with drywall repairs. Avoid these to get a finish that's truly invisible once painted.
- Applying compound too thick: Thick coats crack as they dry. Keep each coat no more than ⅛ inch thick and build up gradually.
- Skipping the primer: Unprimed joint compound absorbs paint differently than surrounding drywall, creating a dull or shiny spot even after multiple paint coats. Always prime the patch before finishing.
- Under-sanding or over-sanding: Use 120-grit sandpaper to knock down ridges, then finish with 150-grit. Over-sanding can tear paper facing and create new texture problems.
- Ignoring texture: If your walls have a knock-down, orange-peel, or skip-trowel texture, the patch will stand out without matching it. Practice the texture technique on a scrap piece first.
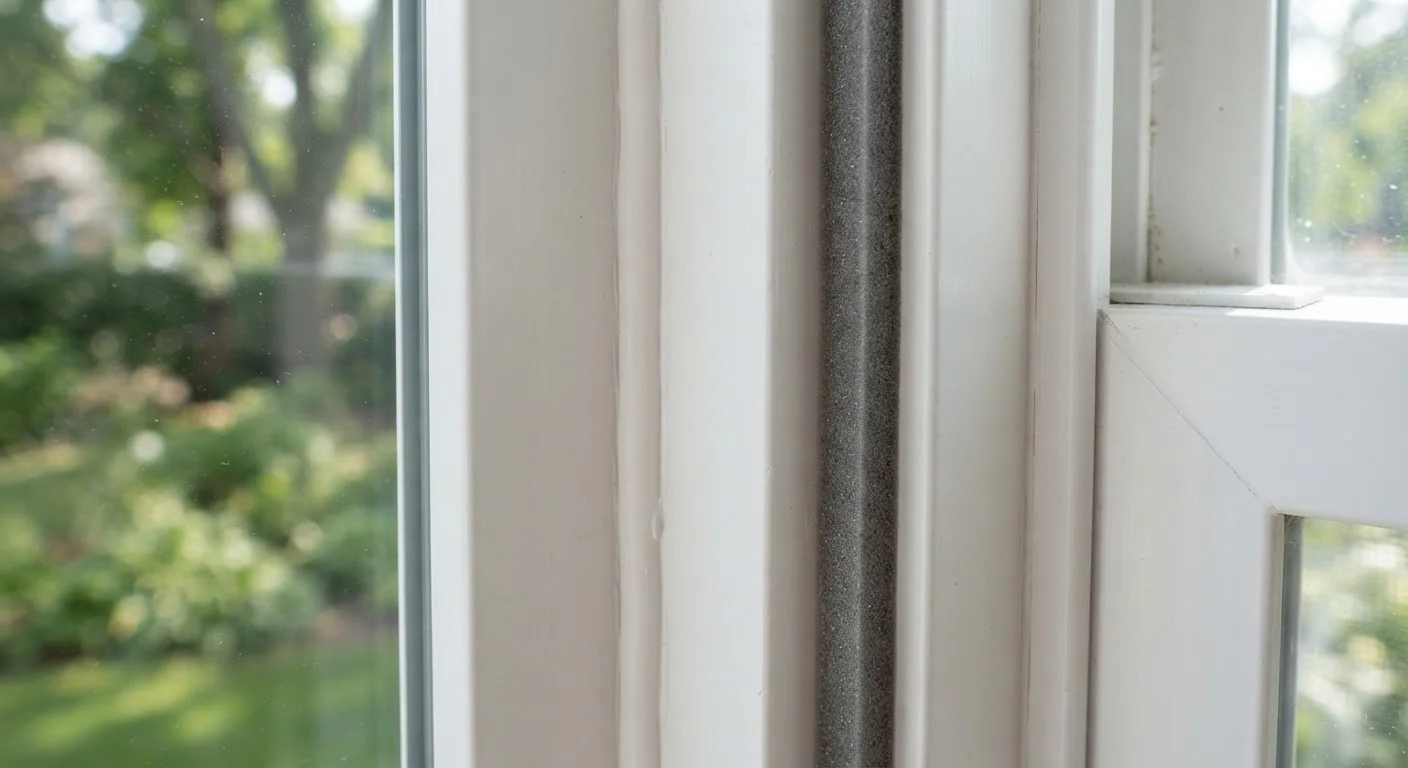
For other types of wall and gap repairs around your home, understanding the limits of each material matters. For example, gaps around window and door frames call for a completely different approach - see our guide on caulk vs. weatherstripping to understand when flexible sealants are the right call instead.
With the right method selected for the damage size, and a little patience through the drying and sanding stages, most homeowners can achieve a patch that disappears entirely under a fresh coat of paint.